
How to Make AI Videos: Pick a Route Before You Pick a Tool
How to make AI videos comes down to one question: what do you already have? Text, a photo, or a motion reference each lead to a different route, a different set of settings, and a different set of failures.
On this page
# How to Make AI Videos: Pick a Route Before You Pick a Tool
How to make AI videos is really a question about inputs. Every generator on the market takes one of three things — a written description, a still image, or a recorded motion — and each of those inputs comes with its own strengths, its own settings, and its own way of failing. Choose the route that matches what you already have and the first clip usually works. Choose by whichever tool is being talked about this week and you spend an afternoon fighting output that was never going to hold.
This page is the map. Each route gets enough detail to start, plus a pointer to the deeper guide for that specific route.
Decide by what you already have
| What you have | Route | What you get | Main risk |
|---|---|---|---|
| An idea and nothing else | Text to video | A clip invented entirely by the model | Composition drifts; you cannot specify a face |
| A photo of a person, product, or place | Image to video | That exact subject, moving | Bad source photo caps the result |
| A video of a motion you want copied | Template / motion reference | Real choreography or camera work on your subject | Framing mismatch between template and subject |
| A script and a budget for many clips | Text to video, in shots | A sequence assembled in an editor | Consistency between shots |
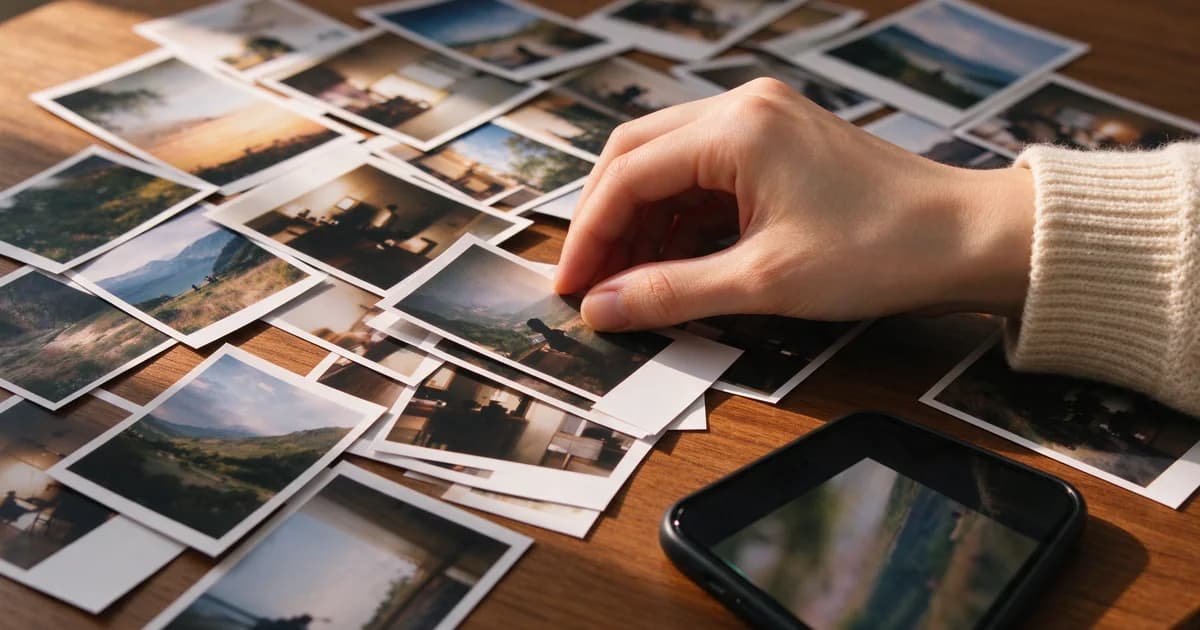
Most people asking how to make AI videos already have a photo on their phone. That is route two, and it is the one that produces a usable clip fastest.
Route one: text to video
You describe a scene, the model renders it. Nothing you own constrains the output, which is both the appeal and the problem.
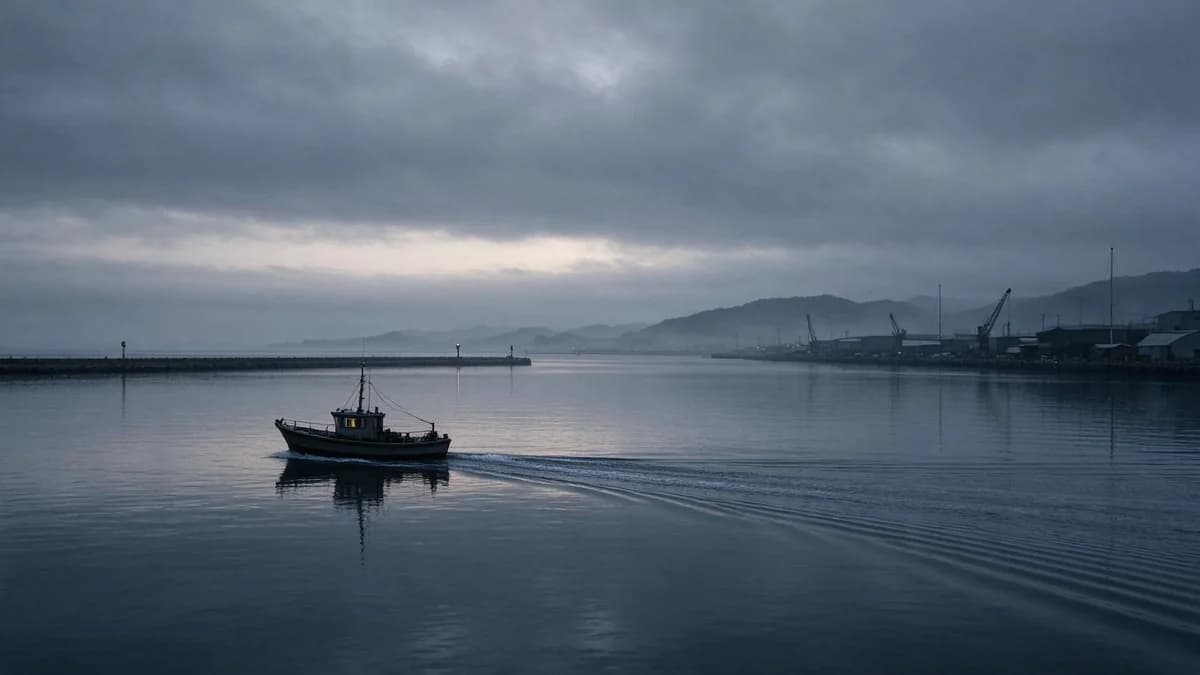
What text-to-video is genuinely good at: establishing shots, landscapes, weather, abstract motion, crowd scenes, anything where the subject does not need to be a specific person. A prompt like "a fishing boat crossing a grey harbour at dawn, slow forward drift, overcast light, no camera shake" produces something usable because nothing in it has to be recognisable.
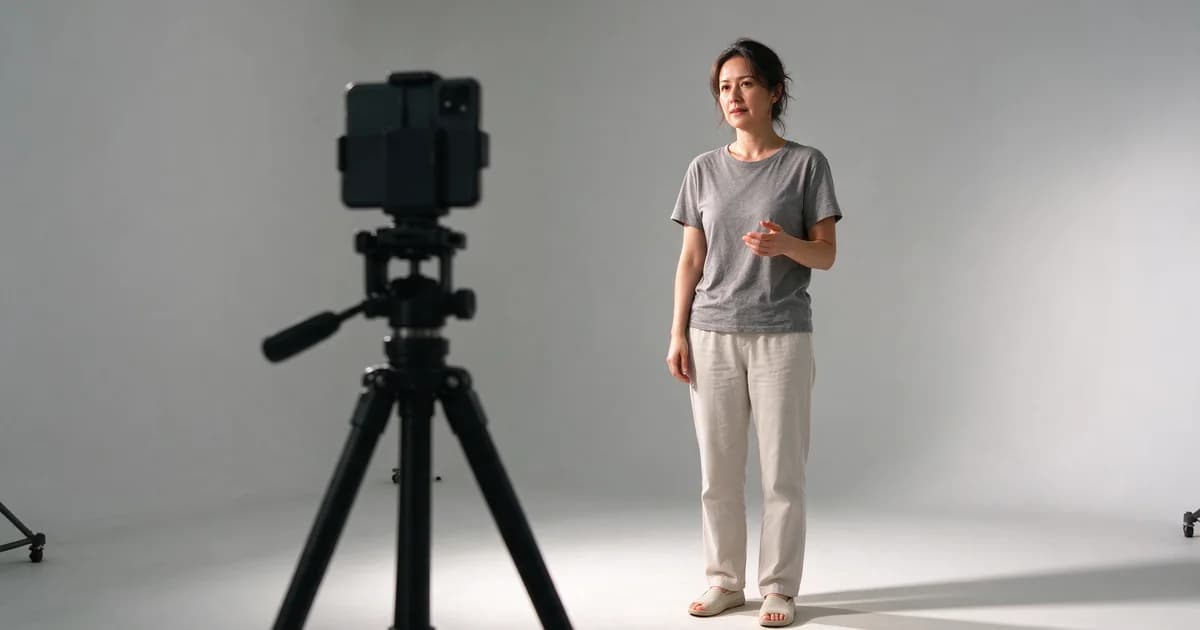
What it is bad at: faces you care about, text, logos, hands doing precise work, and continuity. Ask for the same character twice and you get two different people. If your video needs a specific person, stop here and go to route two.
Practical notes that save time:
- Write the camera move as an instruction, not an adjective. "Slow push in" works; "cinematic" does not describe a position.
- Name the light. "Overcast", "late afternoon backlight", "single practical lamp on the left". Unnamed light is the most common cause of a clip that looks synthetic.
- Give the shot a duration you can afford. A five-second clip has room for one action. Two actions in five seconds means neither reads.
- Keep sentences short and declarative. Long subordinate clauses get partially ignored.
Route two: image to video
You supply a still; the model animates it. This is where most real work happens, because the output inherits the composition, the identity and the lighting of a photo you already control.
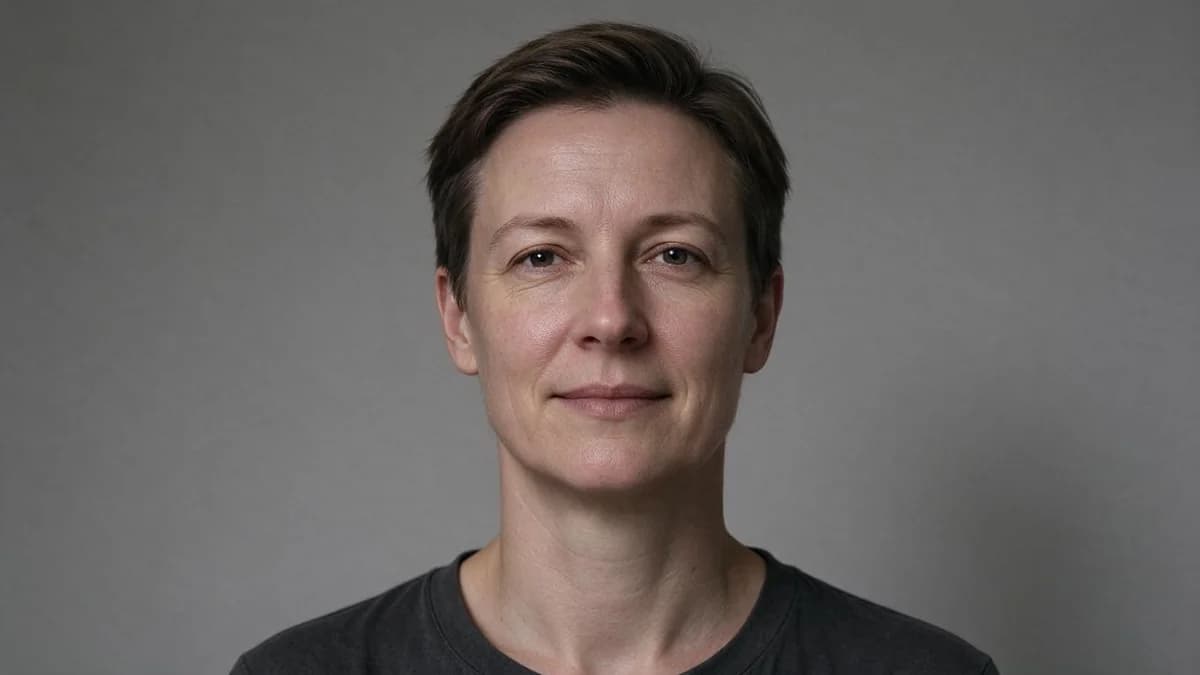
The rule that governs everything here: the source photo sets the ceiling. A sharp, evenly lit, front-on photo with room around the subject will produce a clean clip from almost any model. A dim, tilted, tightly cropped photo will produce artifacts that no prompt can remove. Before touching any settings, spend two minutes on the input:
- Short edge at least 1000px. Faces soften first when resolution is low.
- Subject fully in frame, with space in the direction they will move.
- Even light, no hard shadow across the face.
- Plain or blurred background. Detail in the background competes with the subject for the model's attention and drifts.
- Hands either clearly visible and relaxed, or out of frame. Half-visible hands are where fingers merge.
Then describe motion, not mood. The model needs to know what moves, how far, and whether the camera does anything. "She turns her head slightly to the left and smiles, camera static, upper body in frame" is a specification. "Beautiful, alive, emotional" is not.
Route three: template motion
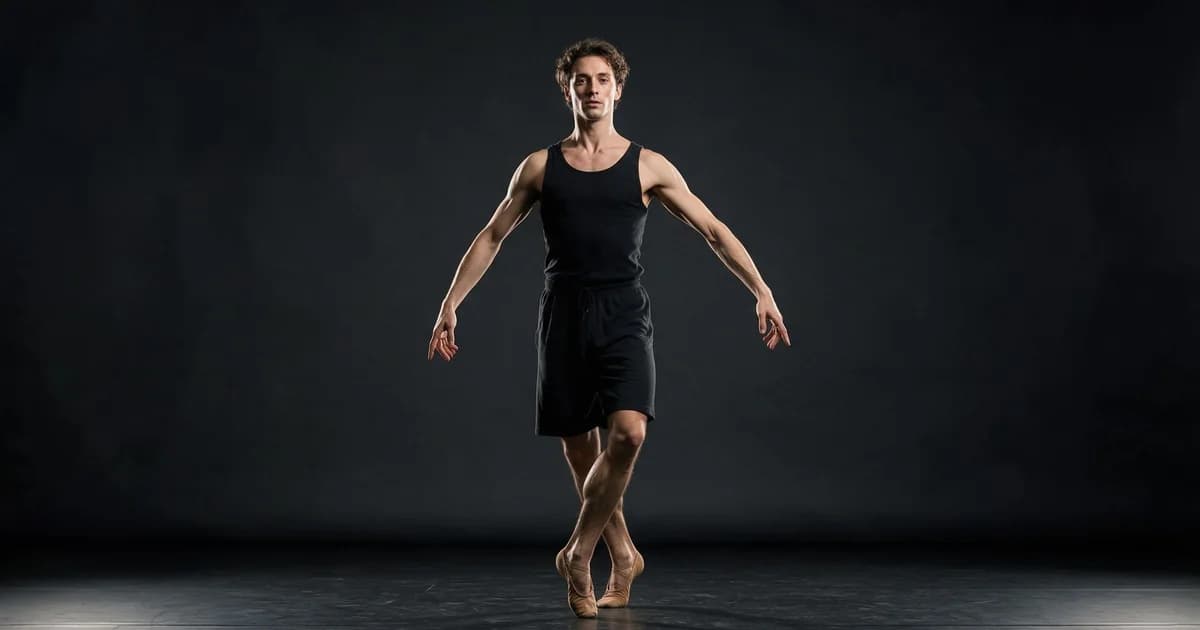
Instead of describing motion, you supply a reference video and the model maps your subject onto the recorded movement. This is the route for anything where the choreography matters: dancing, walking, a specific camera move, a gesture you cannot describe in words.
Templates solve the one problem text prompts cannot — real contact geometry. When two people hug in a reference clip, the model already knows where arms go. When you ask a text prompt for a hug, it guesses.
The trade-off is framing. A template was recorded at a specific angle, distance and body position; your source photo has to be close to that or the mapping distorts. Check three things before generating: is your subject facing the same way, is the crop similar, and is the full body inside the frame the template expects. When a template output looks rubbery, the cause is almost always the mismatch between source framing and template framing, not the prompt.
Your first clip, end to end
Do this once with a photo you do not care about. It takes about ten minutes and it teaches you where the knobs are.
- Pick one photo. Front-on, even light, subject centred with margin. Crop so the head is not near the edge.
- Choose the shortest duration available. Five seconds. Ten seconds doubles the number of frames where any error has to survive.
- Draft at the lowest resolution offered. You are judging motion and identity, not sharpness. Drafting at full resolution wastes time on clips you will throw away.
- Write one motion sentence. Subject, action, direction, camera. No adjectives about mood.
- Generate and watch it three times. First watch: does the subject stay the same person? Second: does the motion resolve, or does it drift and stop? Third: does anything enter or leave frame that should not?
- Change one variable per retry. If identity slipped, change the photo. If the motion overshot, shorten the motion sentence. If the background boiled, simplify the background. Changing three things at once tells you nothing.
- Re-run the exact setup at full resolution once it holds. Same photo, same sentence, same duration — only resolution changes.
- Download immediately. Generated files expire on most platforms.
The settings that actually matter
| Setting | What it controls | Start here |
|---|---|---|
| Duration | How long an error has to survive | 5s. Move to 10s only after 5s is clean |
| Resolution | Detail, and cost of a bad take | 720p to draft, 1080p for the final |
| Aspect ratio | Where the clip can be posted | 9:16 vertical, 16:9 landscape, 1:1 only for tight crops |
| Camera motion | How much of the frame has to be re-invented | Static. Add movement last |
| Seed / variation | Whether a retry is actually different | Fix the seed when you are tuning one variable |
| Motion strength | How far the subject travels | Low. Most first attempts are over-driven |
The pattern across every row is the same: start at the setting that gives the model the least to invent, then add one degree of freedom at a time. Static camera before moving camera. Five seconds before ten. Low motion before high.
Where first attempts break
| What you see | What caused it | What to change |
|---|---|---|
| The person becomes someone else mid-clip | Identity has to survive too many frames, or the source face is small | Shorter duration, tighter source crop, higher-resolution photo |
| Motion stops after a second | The action was described as a state, not a movement | Rewrite as subject + verb + direction |
| Everything warps like liquid | Motion strength too high, or camera move on a complex scene | Drop motion strength, lock the camera |
| Background crawls and shimmers | Too much texture behind the subject | Blur or replace the background |
| Fingers fuse or multiply | Hands half-visible at frame edge | Crop hands out, or keep them fully in frame and relaxed |
| Text or logos turn to noise | Generative models do not preserve glyphs | Remove text from the source frame |
| Output looks pasted together | Subject lighting does not match the scene | Match light direction between subject and background |
None of these are model-specific. They are the same seven failures across every generator, and every one of them is fixed on the input side rather than the prompt side.
Length, aspect, resolution: decide once
Pick your delivery format before you generate, not after. Re-generating because the aspect ratio was wrong is the single most common wasted hour.
- Vertical 9:16 for short-form social. The subject needs headroom and the action should read in the middle third.
- Landscape 16:9 for anything that will sit in a player, a page, or a presentation.
- Square 1:1 only when the crop is tight on a face or a product. Wide square frames waste the sides.
Resolution follows the destination: 720p is enough to judge a take on a phone, 1080p is what you publish. Generate the draft at whatever is fastest, then re-run the winner at full size — do not upscale a draft, re-generate it.
FAQ
How long does a first AI video take? Ten to fifteen minutes including choosing the photo, if you follow the walkthrough above. Most of that is deciding, not generating.
Do I need a photo, or can I start from text? Start from text if the subject does not need to be a specific person. If it does, use a photo — text-to-video cannot reproduce an identity reliably.
Why does my clip look fake even when it is technically clean? Usually lighting. Generated scenes default to flat, even light with no direction. Naming a light source and a direction in the prompt fixes more perceived realism than any other single change.
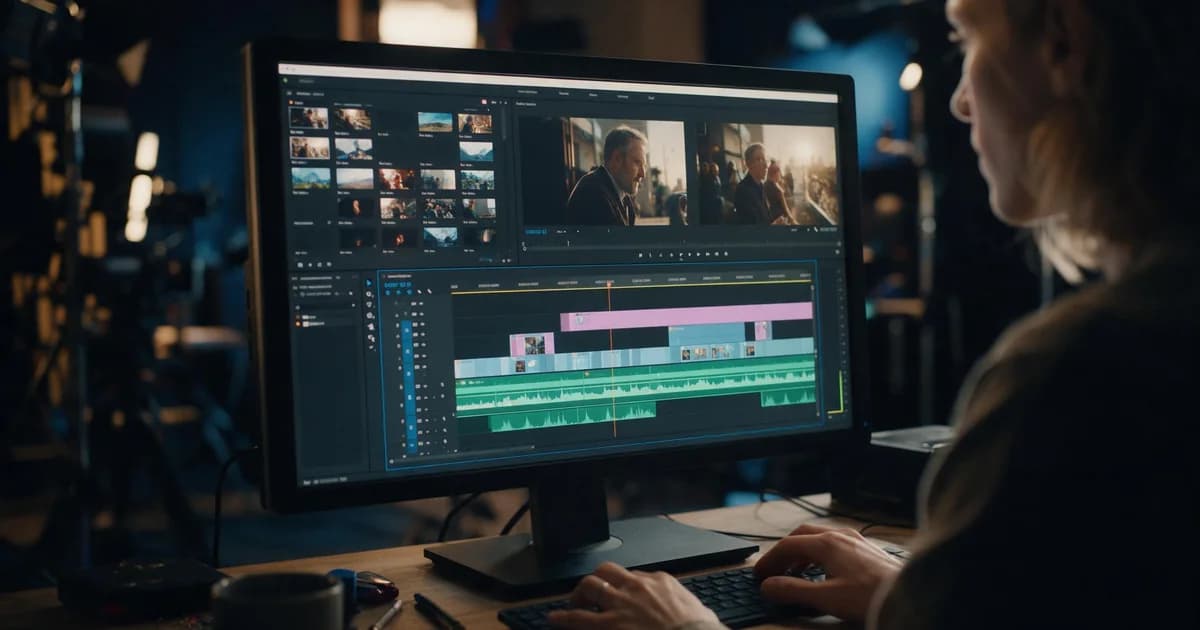
Can I make a longer video in one go? You can, but quality per second drops as duration rises. The reliable approach is several five-second clips cut together in an editor.
Does the aspect ratio affect quality? It affects how much the model has to invent. A 9:16 crop of a landscape scene forces the model to fill the sides. Match the source orientation to the output orientation when you can.
What is the one setting to get right first? Duration. Everything else is easier to fix on a short clip.
Next
If you are starting from a photo, How to Turn a Photo into a Video goes deeper on source selection, and AI Video Prompt Guide covers writing motion sentences properly. For the input-framing rules behind route two, Image to Video: A Practical Guide is the fuller read, and Animate Photos explains which parts of a still image can actually move.
If you want the motion to come from a reference rather than a description, How to Replace a Video Character with a Template covers the mapping workflow.
Start with one photo and a five-second clip on the templates page.
The checks in this article are easier to run than to describe: the image to video tool takes one still and returns a five-second clip, which is usually enough to see whether the frame holds up.