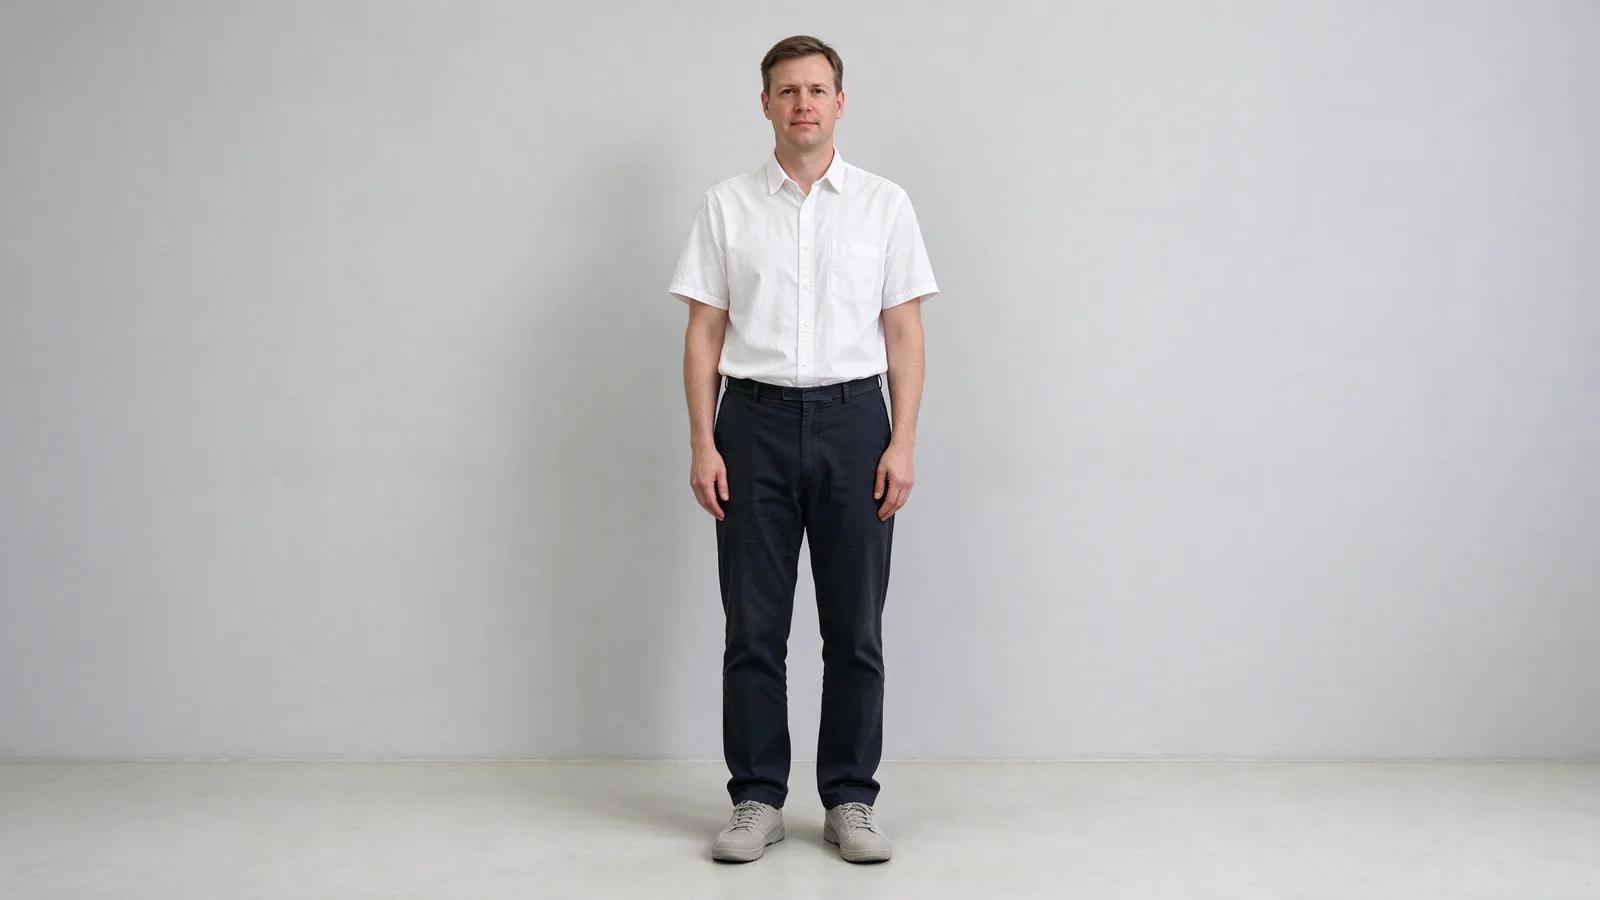

Outfit Generator: Describing a Look Well Enough to Actually Get It
An outfit generator almost never fails because the model cannot draw clothes — it fails because \"smart casual\" is not a description. Five things have to be said out loud before the output has any chance of matching what was in your head.
On this page
# Outfit Generator: Describing a Look Well Enough to Actually Get It
An outfit generator has an unusual failure mode. It rarely produces something badly drawn. It produces something well drawn that is not the thing you wanted — and the reason is almost always in the sentence you typed, not in the model.
The gap is easy to see. You have a picture of the look in your head: a person, a season, a room, a reason for dressing that way. What you type is "casual outfit, nice lighting." Those two sentences describe completely different images. The model can only act on the second one.
So the useful mental model is this: an outfit generator is not a search box for clothes. It is a description engine. What comes out is a direct function of how many of the five decision points you actually committed to — occasion, silhouette, material, palette, and the thing you want excluded.
Why "smart casual" tells it nothing
Words like smart casual, business casual, chic, clean, elevated, put-together are all relational terms. They only mean something relative to a context that the reader already knows. A human reader fills that context in automatically — they know which office, which city, which decade. A generation model has no such context, so it reaches for the most statistically common image associated with the phrase, which is usually a stock-photo version of it.
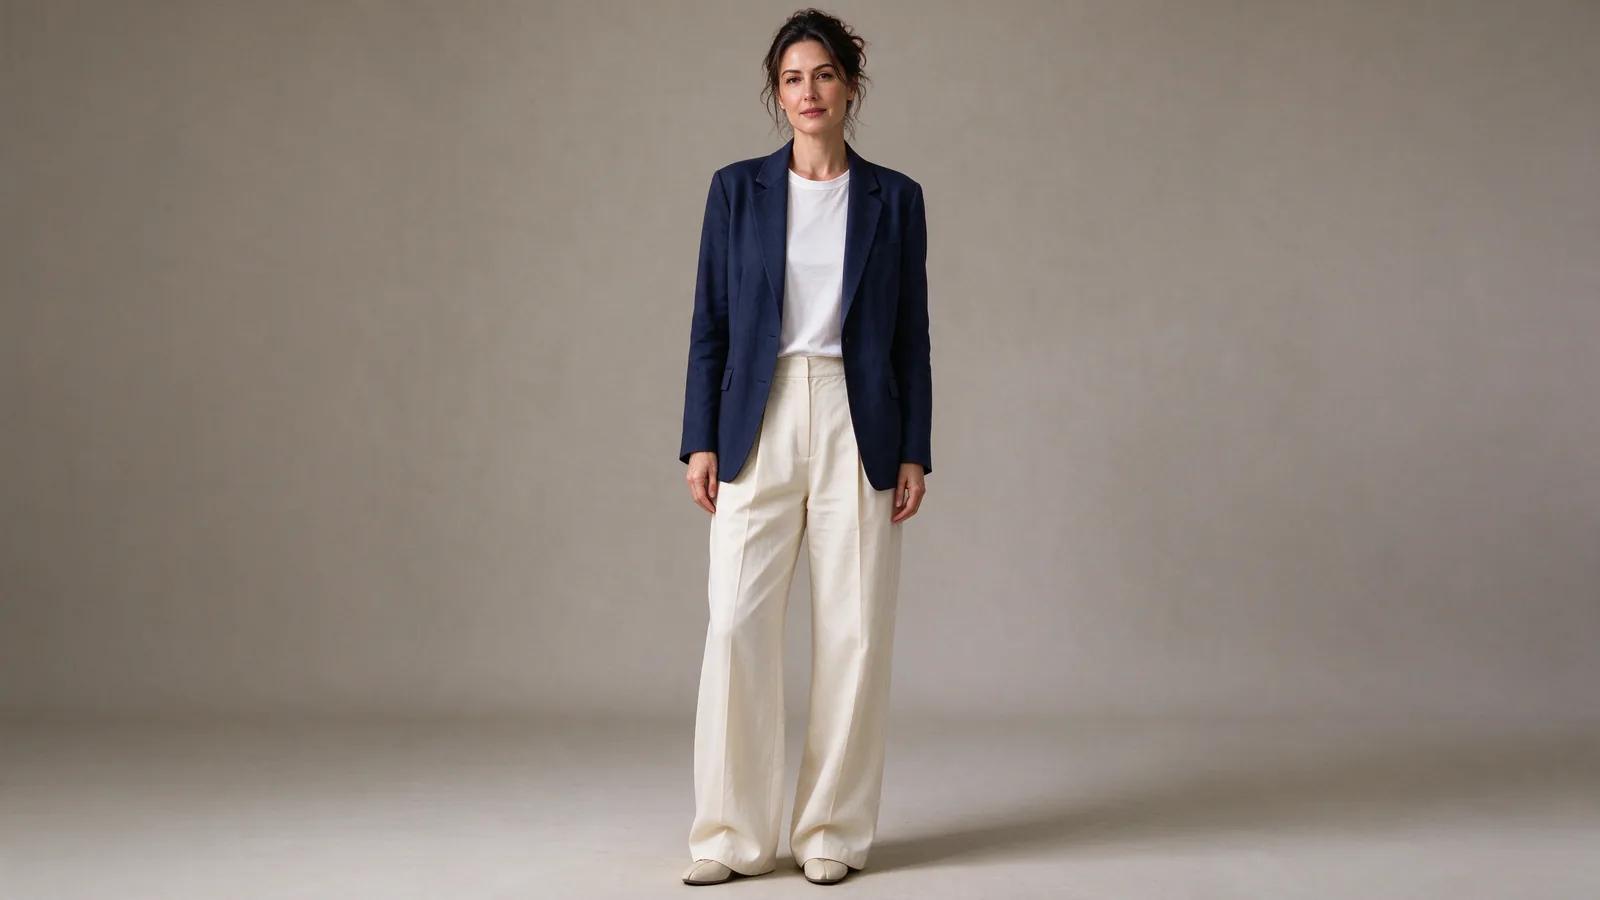
The fix is not to write more words. It is to write words that map onto visible properties. "Smart casual" is invisible. "Unstructured navy blazer, no shoulder padding, worn over a plain white crew-neck tee, sleeves pushed to the forearm" is visible — every clause in it changes pixels.
There is a test that costs nothing: read your description back and ask, for each clause, could two people draw different things from this? If yes, it is not a specification yet. "Knee-length" passes the test. "Modest length" does not. "Wide-leg, falling straight from the hip with no taper" passes. "Relaxed fit" does not.
Occasion comes first, because it constrains everything else
The single most expensive mistake is starting with the garment. Start with where the person is going, because occasion silently decides silhouette, material, and palette at the same time.
A wedding guest outfit and a job-interview outfit can both be described as "a dark suit" and still share nothing: one is unstructured, drapey, and meant to be photographed at dusk; the other is structured, matte, and meant to read as competent under fluorescent light. If you name the occasion, the model gets all three of those decisions for free. If you skip it, you have to specify them one by one, and most people do not.
Practical version: name the occasion, then name the one constraint that occasion imposes. "Wedding guest, outdoor ceremony, late afternoon, nothing that competes with the couple" is a usable brief. "Wedding guest" alone is not.
Silhouette means shoulder line and hem, not adjectives
When people write "fitted" or "oversized," they are describing a feeling. What the model needs are the two places where a garment's shape is actually decided: where the shoulder seam sits, and where the hem lands.
Shoulder seam. On the shoulder point is structured. Dropped two to three centimetres past it is relaxed. Dropped past the deltoid is oversized. These three produce visibly different people, and the phrase "oversized blazer" will land somewhere unpredictable among them unless you say which.
Hem. Cropped at the waist, at the high hip, at the low hip, mid-thigh, or knee. This one number changes the perceived leg length more than any other single parameter, and it is the thing most often left out.
Say both, and say them in body-relative terms rather than centimetres, because the model reasons about proportion. "Shoulder seam on the shoulder point, hem at the high hip" is a complete silhouette instruction.
Material is what makes 2K worth using
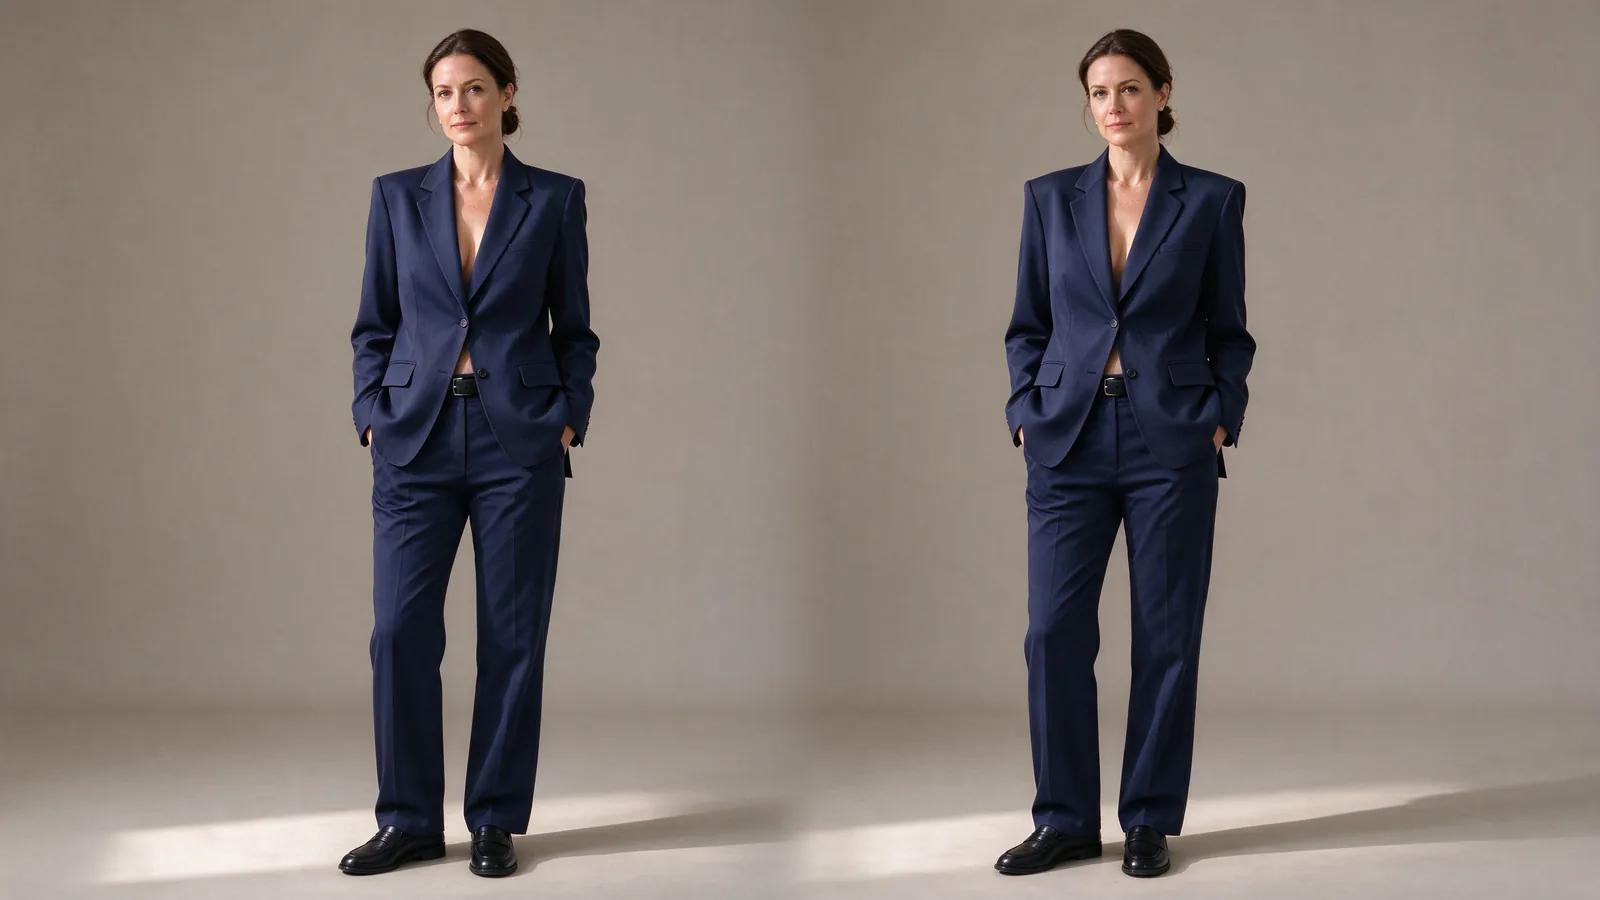
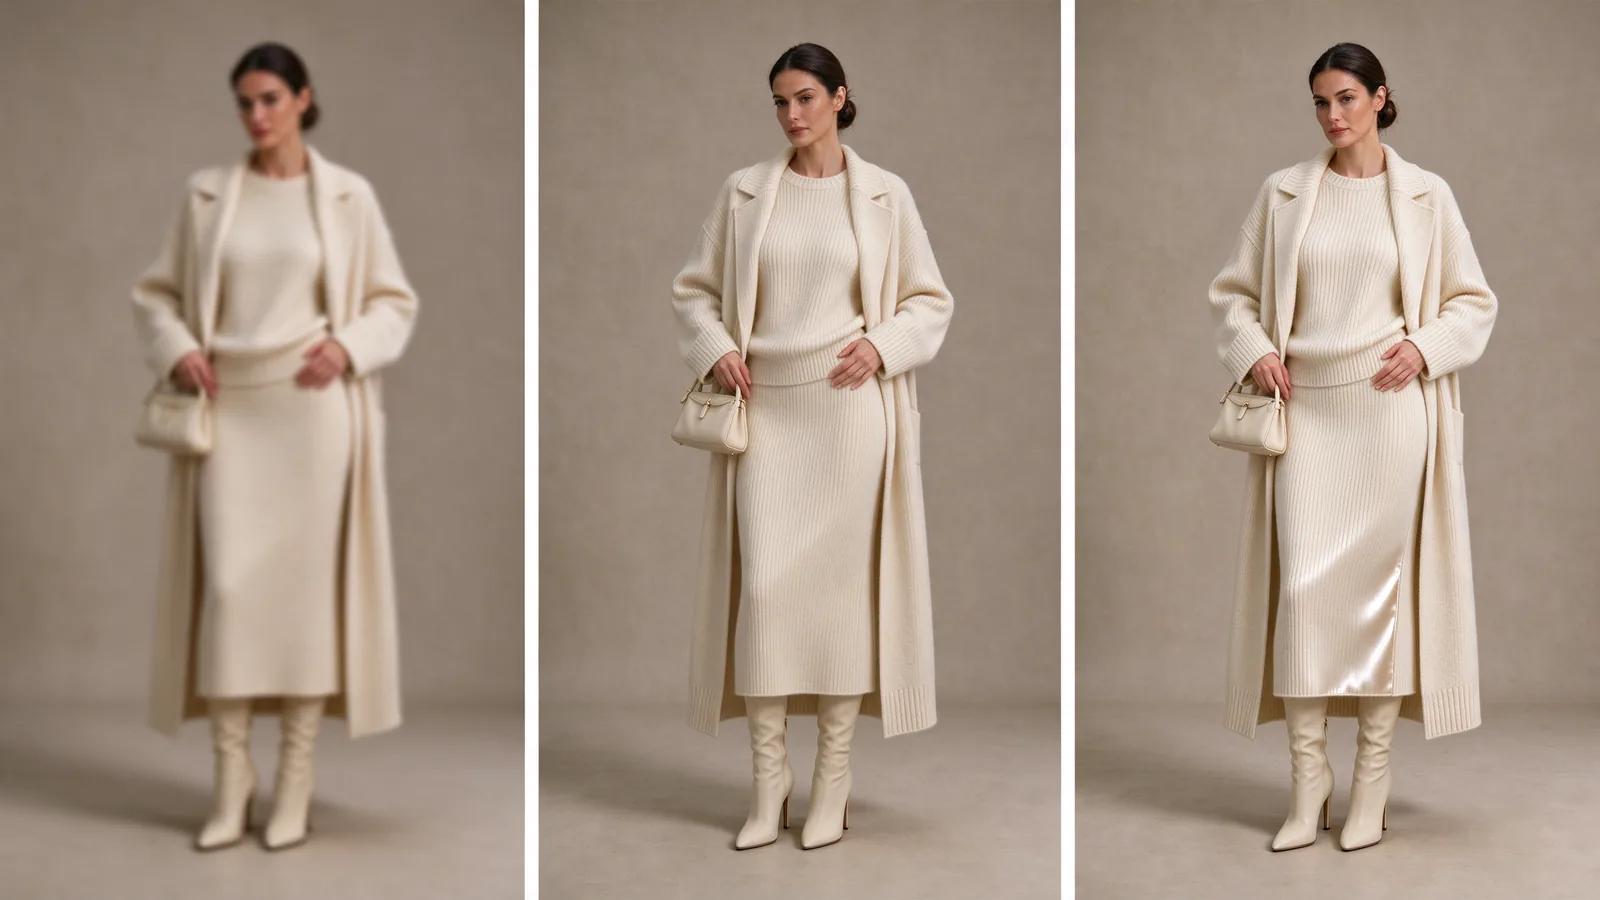
At 1K, most fabrics resolve into the same soft mid-tone. At 2K, four material families separate cleanly, and each one announces itself in a different way:
| Material | What it looks like at 2K | What it looks like at 1K |
|---|---|---|
| Cotton or linen | Matte surface, soft creases at the elbow and hip, slight edge fuzz | Flat mid-tone, creases read as smudges |
| Silk or satin | Sharp specular highlight along a fold, deep shadow on the reverse side | Highlight becomes a white stripe |
| Knit | Individual stitch columns, visible drape weight at the hem | Texture dissolves into noise |
| Leather | Hard, small highlight, visible seam and edge thickness | Becomes a dark glossy shape |
This is the reason to decide before generating whether the point of the outfit is its shape or its fabric. If the look is defined by the cut — a strong shoulder, a long coat, a wide trouser — 1K is enough and it is faster. If the look is defined by the material — a satin slip, a heavy knit, a leather jacket — 1K will produce something that reads as the right silhouette in the wrong fabric, and no amount of re-prompting fixes it. Go to 2K.
Palette: one base, one accent, and stop
The most common colour failure is not a wrong colour. It is too many of them. Three or more distinct hues in one outfit description tend to produce a result where each element was rendered correctly in isolation and the combination reads as noise.
Two is the reliable number: a base that covers most of the body, and a single accent confined to one small area — a shoe, a bag, a scarf, a single visible layer. Three is workable only when the third colour is neutral (white, black, grey, tan) and stays in the accessory layer.
Also worth saying explicitly: name the base colour, not the mood. "Warm neutral" resolves unpredictably across different garments. "Oatmeal" does not.
The exclusion clause is the highest-leverage sentence you can write
Almost nobody writes exclusions, and it is the cheapest single improvement available. A generation model fills unspecified space with the most common thing it has seen. If you do not want large logos, horizontal stripes, high necks, puff sleeves, or a visible brand tag, those are exactly the things likely to appear.
State them as a short list, not a paragraph. Three to five items is the useful range; past that, exclusions start fighting each other and the model drops some of them.
Useful exclusions, in rough order of impact: no visible logo or text, no horizontal stripes, no high or turtleneck collar, no puff or bishop sleeve, no oversized outerwear over the base layer.
Aspect ratio and resolution are output decisions, not style decisions
Five ratios are available, and the right one is decided by where the image will be used, not by taste.
| Ratio | Use it when |
|---|---|
| 3:4 | Portrait reference for a person — the default for styling work |
| 9:16 | Vertical social post or story; the figure fills the frame edge to edge |
| 1:1 | Product detail page or a grid that crops everything square |
| 4:3 | Horizontal layout with room beside the figure for text |
| 16:9 | Wide banner or slide; the figure occupies one third of the frame |
One thing that does not scale: a 3:4 framing cropped to 9:16 later will lose the feet or the hands. If the vertical version is the deliverable, generate at 9:16 rather than cropping a wider original.
If the ratio question is new to you, the piece on aspect ratios and multiple inputs works through the same maths for generated video.
The three input modes and when each one is the right call
The tool accepts input three different ways, and picking the wrong one is a common source of "it ignored my reference."
Separate pieces — one photo of the person, plus optional top and optional bottom references. Use this when you want to change exactly one half of the outfit. Replacing only trousers while keeping the jacket intact is the clearest case; the model is not asked to reconcile two new garments at once.
One full look — person plus a single complete-outfit reference. Use this when you have a whole styling reference and want it applied as a unit. The advantage is coherence; the cost is that you cannot keep any one piece from the original.
Multiple references — one main image plus up to four supplementary references. Use this when the look depends on things that are not clothes: a specific shoe, a bag, a piece of jewellery, eyewear. Each supplementary reference should show one object, cleanly, or the model has to guess which part of that reference was meant.
Whichever mode you pick, the prompt is mandatory. Supplying references without a description drops the model back on its defaults for everything the references do not cover — and they never cover everything.
All three modes are on the AI Outfit Generator page; the mode you pick decides how many references it will actually accept.
When it does not match, retry in this order
Changing several variables at once is the way to spend an afternoon and learn nothing. The retry order below is worth following literally, because each step has a much larger effect than the next one.
1. Occasion. Was the setting actually named? A look generated for "office" and one generated for "dinner" differ more than any two prompts that share an occasion. Fix this first; everything downstream was built on it.
2. Silhouette numbers. Shoulder seam and hem position. If the result reads as a different body shape, this is the cause far more often than body proportions.
3. Material. If the shape is right but the surface is wrong, and you generated at 1K, this is not a prompt problem at all — regenerate at 2K before touching the text.
4. Palette count. Count the distinct hues in the output. If there are more than you specified, the description was too loose somewhere upstream and the model invented a colour.
5. Exclusions. If unwanted elements appear, add them to the exclusion clause rather than describing the wanted state more elaborately.
The table below is the version worth keeping next to you.
| Element | What to write | What the failure looks like |
|---|---|---|
| Occasion | The place and the one constraint it imposes — "outdoor ceremony, late afternoon, must not compete with the couple" | The outfit is correct in a vacuum and wrong for the room |
| Silhouette | Shoulder seam position + hem position, in body-relative terms | The figure reads as a different build; garments look borrowed |
| Material | The fabric family and what it does to light — matte with soft creases, sharp specular along folds | Right shape, wrong surface; reads as a rendering rather than a photograph |
| Palette | One base colour by name, one accent confined to a small area | Colour noise — each element fine alone, chaotic together |
| Exclusions | Three to five concrete items you do not want | Logos, stripes, high collars appear unbidden |
What a good result actually looks like
A usable styling output passes three checks that have nothing to do with taste.
The light is consistent — the highlight on the shoulder, the shadow under the hem, and the shadow the figure casts all agree about where the light is. When they disagree, the garment was composited and everyone can see it.
The garment obeys gravity — fabric hangs from the highest point of contact, creases appear where a body bends, and the hem falls rather than floats. A jacket that stands away from the body at the hem is the most common tell.
And the proportions survive the frame — head to shoulder, shoulder to waist, waist to hem read as one person rather than three measurements. Generation tends to lengthen legs and narrow shoulders unless the silhouette description explicitly sets the hem position, which is why that one parameter does most of the work.
None of this requires a longer prompt. It requires committing to five decisions instead of leaving them to the most common thing in the training data.
When the photo already exists and only the clothing needs to change, that is a different problem — clothes changer AI covers the four seams where a swap shows.