
Clothes Changer AI: The Four Seams Where a Swap Shows
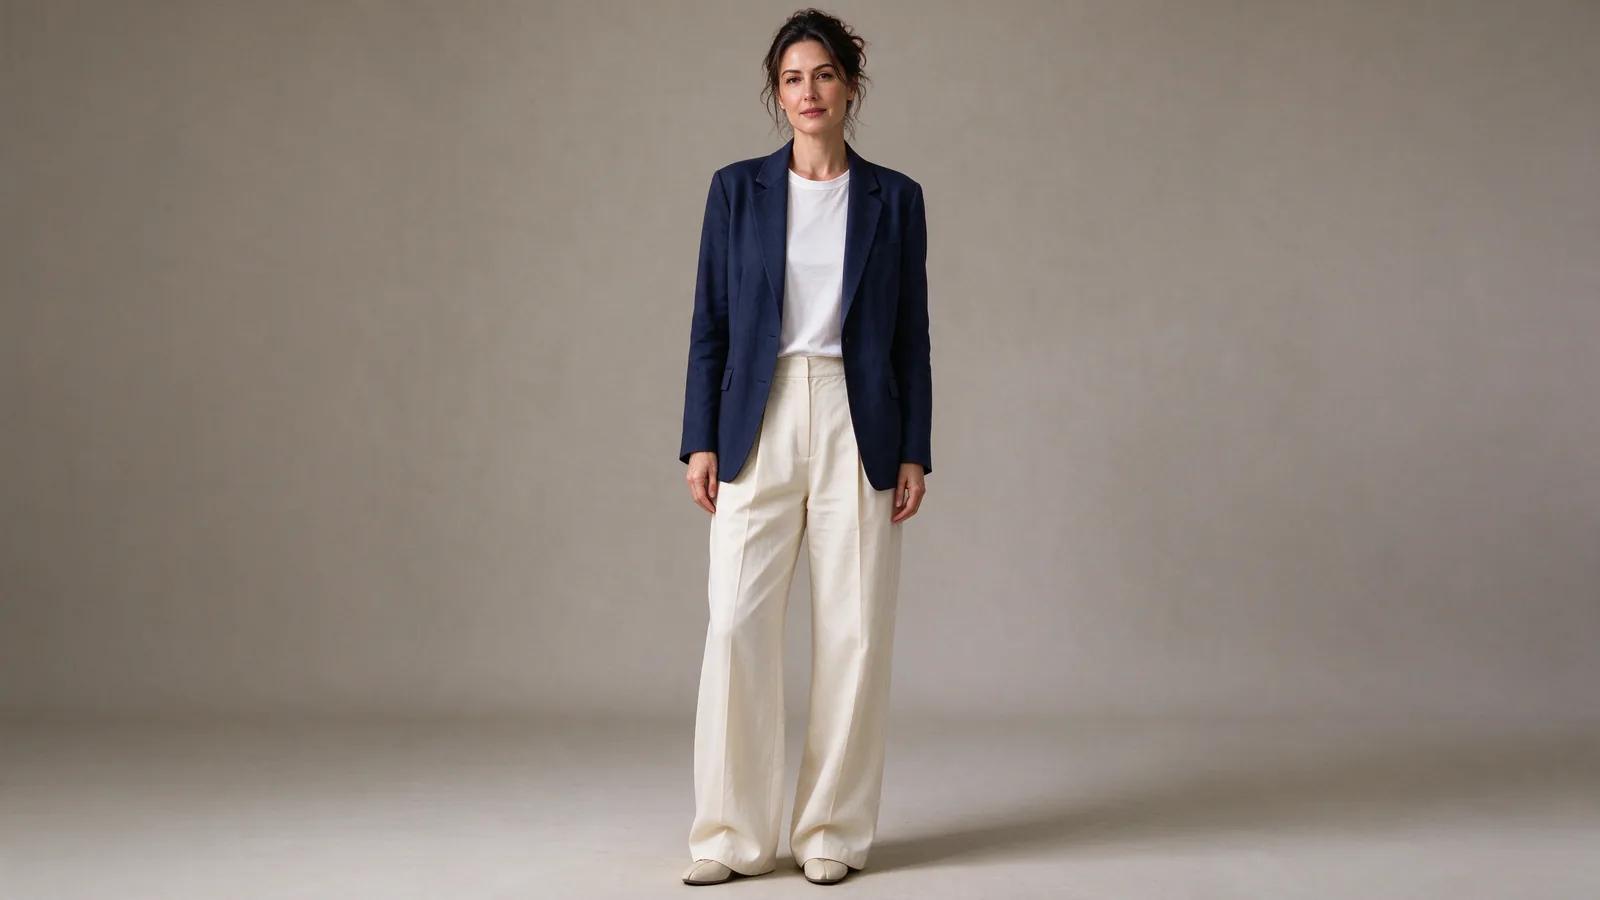
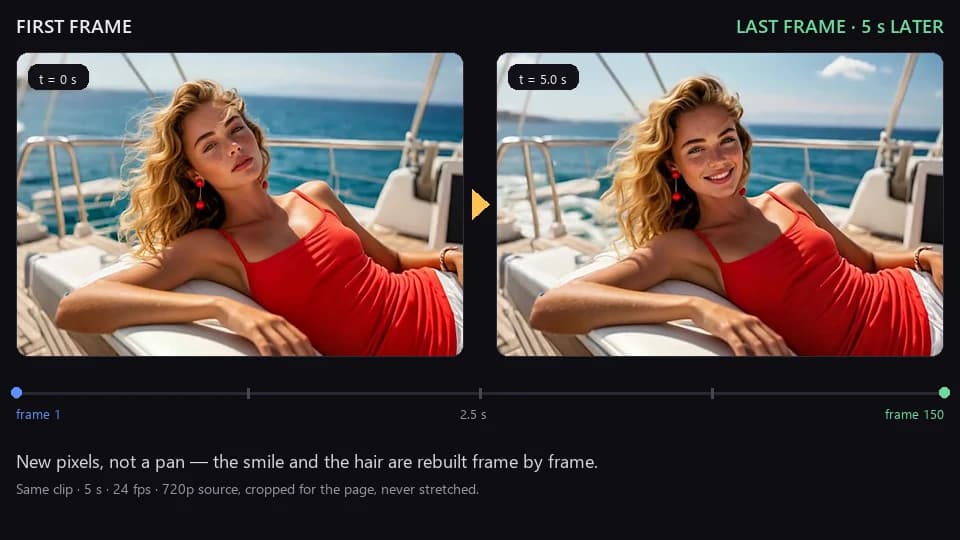
A clothes changer ai does not paste a garment onto a person — it has to keep the body and the pose and replace only the fabric. Every visible failure happens at one of four seams: collar, cuff, hem, waistline. Fix those four and the rest follows.
On this page
# Clothes Changer AI: The Four Seams Where a Swap Shows
A clothes changer ai is doing something harder than it looks. Adding a garment to an empty frame is a generation problem. Replacing a garment on a person who is already photographed is a reconciliation problem: the body, the pose, the light, and the background all already exist, and the new fabric has to agree with every one of them.
That is why the failures are so consistent. They are almost never about the garment being wrong. They are about the four places where fabric meets body — the collar, the cuff, the hem, and the waistline. Get those four right and the swap reads as a photograph. Get one wrong and the whole thing reads as a sticker.
Why the body is the constraint, not the garment
When you hand over a photo, you are also handing over a large number of fixed facts: where the shoulders sit, which way the hips face, how the weight is distributed, where the arms are, how the light falls across the torso. The model cannot move any of these without either breaking the background or breaking the anatomy, so it keeps them — and the new garment has to fit into the space those facts leave.
This has a practical consequence that surprises people: a garment whose shape contradicts the pose will fail regardless of how good the reference image is. A structured blazer on a person with their shoulders rolled forward will show an unnatural gap at the chest. A long coat on a seated figure will have nowhere to put the hem. The reference is not the problem; the pose already decided the answer.
Which is why the useful question before generating is not "is this reference clear" but "does this pose have room for this garment."
Seam one: the collar
The collar is the highest-risk area on the whole image, because it is the only place where the garment touches skin that also carries a face.
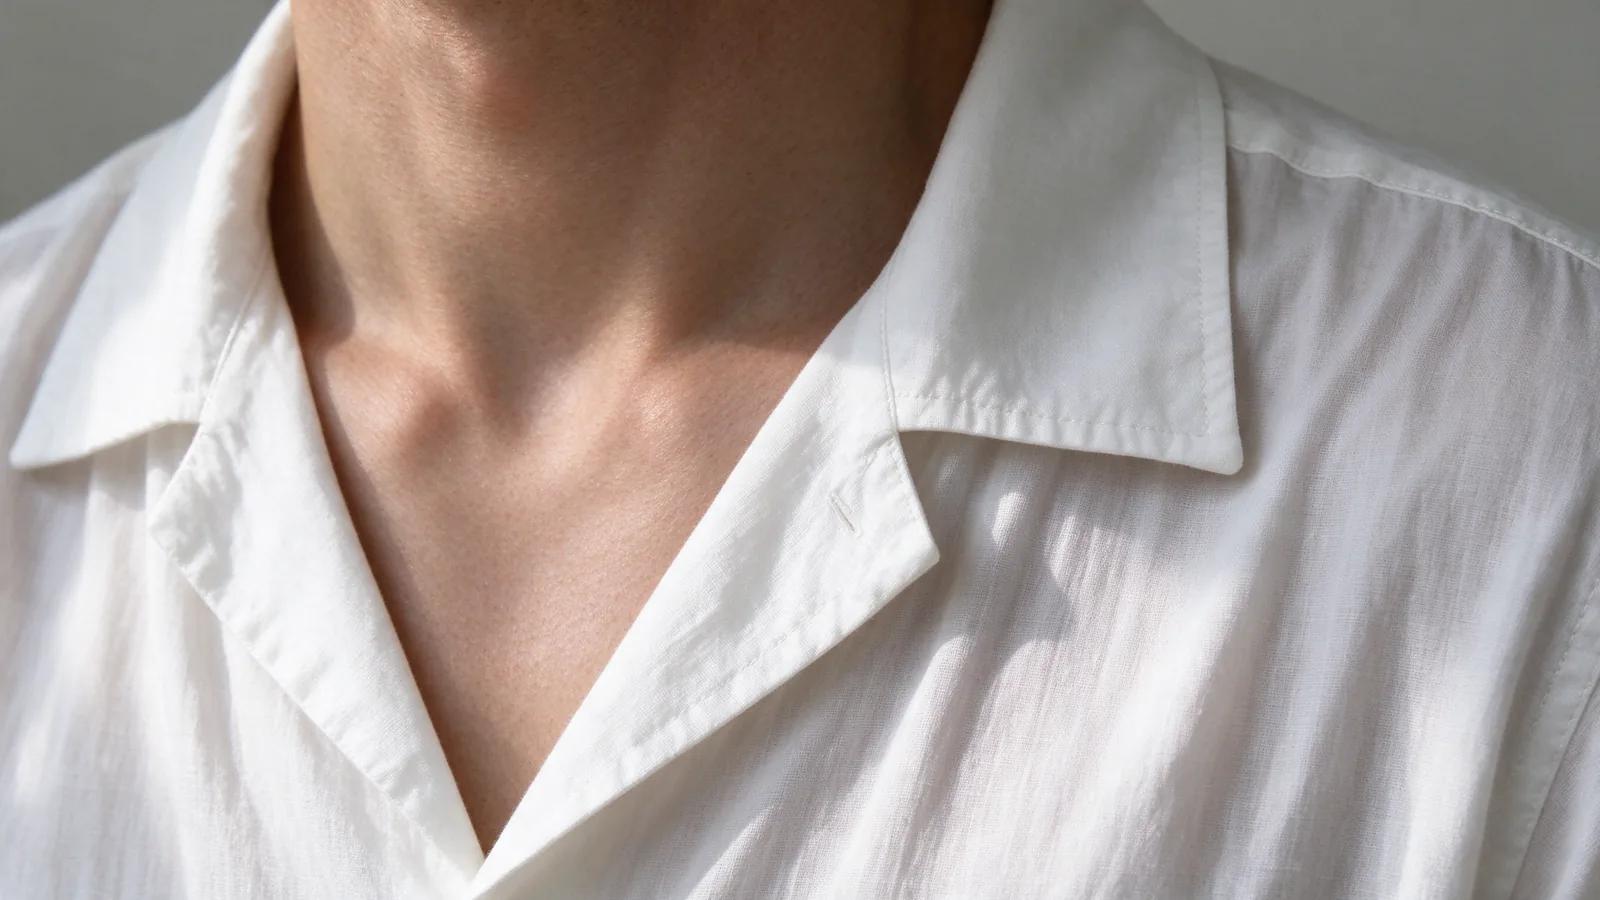
Three things have to change together when a collar type changes. The neckline shape has to move. The shadow cast on the chest and collarbone has to move with it — a crew neck casts a soft shadow close to the throat, a V-neck casts a longer, narrower one further down. And the visible skin tone near the neck has to stay continuous, with no seam where the old collar used to be.
The most common artifact is a "floating neckline": the new collar is rendered correctly, but the chest beneath it is still shaded as though the old, higher collar were there. It reads as a garment hovering a centimetre off the body. The fix is to describe the collar and the neckline in the same sentence — "a wide boat neck that leaves the collarbones exposed" commits to both the garment edge and the skin it reveals.
Collars that survive well: crew, V, boat, camp, open shirt collar left undone. Collars that frequently fail: turtleneck (needs full neck occlusion), structured stand collars (need a hard edge), anything with a tie or knot (needs fine geometry at a small scale).
Seam two: the cuff
Sleeve ends are where a still image stops being able to help, because cuffs only look right when they respond to the arm's bend.
A straight, unbent arm gives the model very little information. If the arm hangs down, a long sleeve should break once at the elbow and once at the wrist. If the arm is bent, the sleeve should compress on the inside of the elbow and stretch over the outside. A rendered sleeve that stays perfectly tubular through a bent arm is the single most reliable tell that clothing was replaced rather than photographed.
Two ways to handle it. The easier one: choose a pose where the arms are away from the torso and only gently bent, which gives the sleeve somewhere to hang and removes most of the problem. The harder but more reliable one: if the reference garment has visible cuff detail — a ribbed cuff, a turned-back cuff, a buttoned placket — supply a reference that shows that detail on a body in a similar arm position, not flat on a table. Flat-lay references carry no information about how the fabric behaves when worn, so the model has to invent the drape, and it usually invents a stiff one.
Short sleeves and sleeveless are dramatically more forgiving, because there is no cuff to reconcile. If a swap keeps failing at the sleeve, switching to a short-sleeve reference is not a compromise — it is often the difference between usable and not.
Seam three: the hem
The hem decides proportions, and proportions are what people actually notice.
The mechanical part is simple: where the garment ends relative to the body. Waist, high hip, low hip, mid-thigh, knee. State it in body-relative terms and the model will place it there.
The part that fails is what happens at that line. A hem either tucks in, sits on top of another garment, or falls free — and each has a different visual signature. Tucked-in hems disappear at the waistband and produce a slight bulge above it. Hems that sit on top of trousers produce a visible edge and a shadow line. Free-falling hems produce a drop shadow on the legs beneath. When the model renders a free-falling hem where the pose clearly implies a tucked-in one, the result reads as a shirt worn outside a jacket that is also somehow inside the shirt.
There is also a leg-length trap worth naming. Raising the hem shortens the perceived torso and lengthens the legs; lowering it does the opposite. Generation tends to default to the more flattering version, which is usually the one that was not asked for. If the outfit depends on a specific proportion — a cropped jacket over a longer shirt, a midi skirt that hits mid-calf — say the hem position explicitly or it will drift.
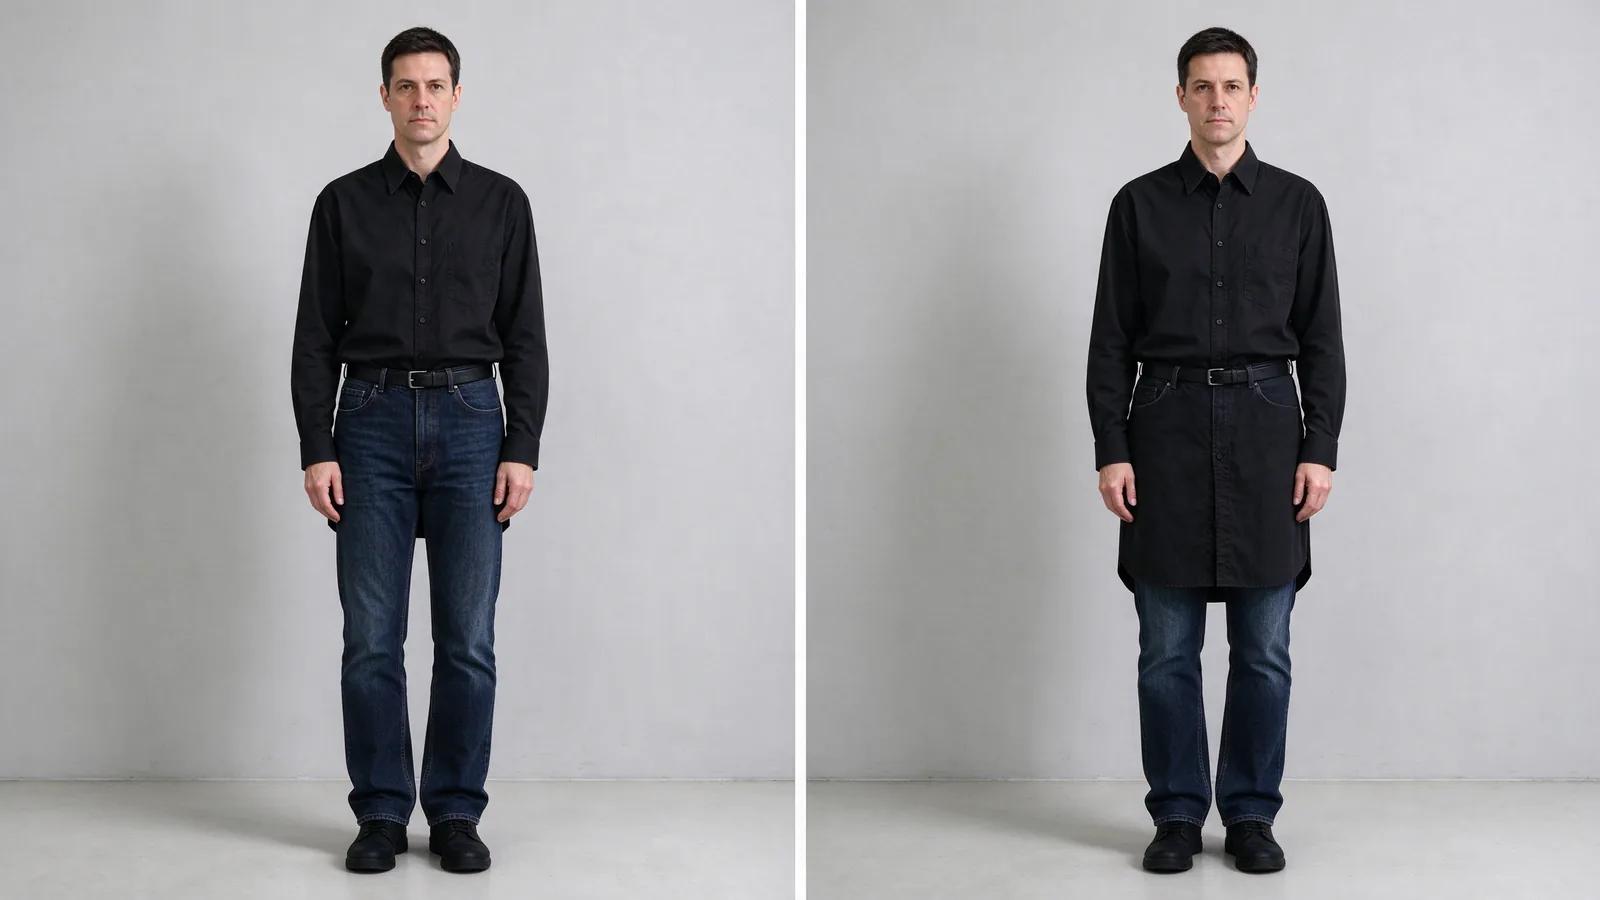
Seam four: the waistline
Where the top and bottom meet is the busiest part of the image and the place where two independently-generated garments most often disagree.
Three failure modes, in order of frequency:
The waistband disappears. A shirt is generated over trousers with no visible waistband at all, so the person appears to be wearing a single continuous garment. This happens when the description names a top and a bottom without saying how they interact.
The waistband floats. A visible belt line with a gap or a doubled shadow, because the top and bottom were rendered at slightly different body widths.
The scale is wrong. The waistband sits at the right height but the shirt above it is too wide or too narrow — the two garments were sized for different people.
The fix is one clause: name the interaction. "Tucked into high-waisted trousers with a visible waistband" is a complete instruction, and it eliminates all three failure modes at once. For separate-piece mode, this clause is effectively mandatory.
Replacing the person rather than the garment is a separate problem — video character replacement handles that case.
Which source photos can actually be swapped
Some photos are simply not swap candidates, and identifying them before generating saves the most time.
| Source photo feature | Swappable? | What to do instead |
|---|---|---|
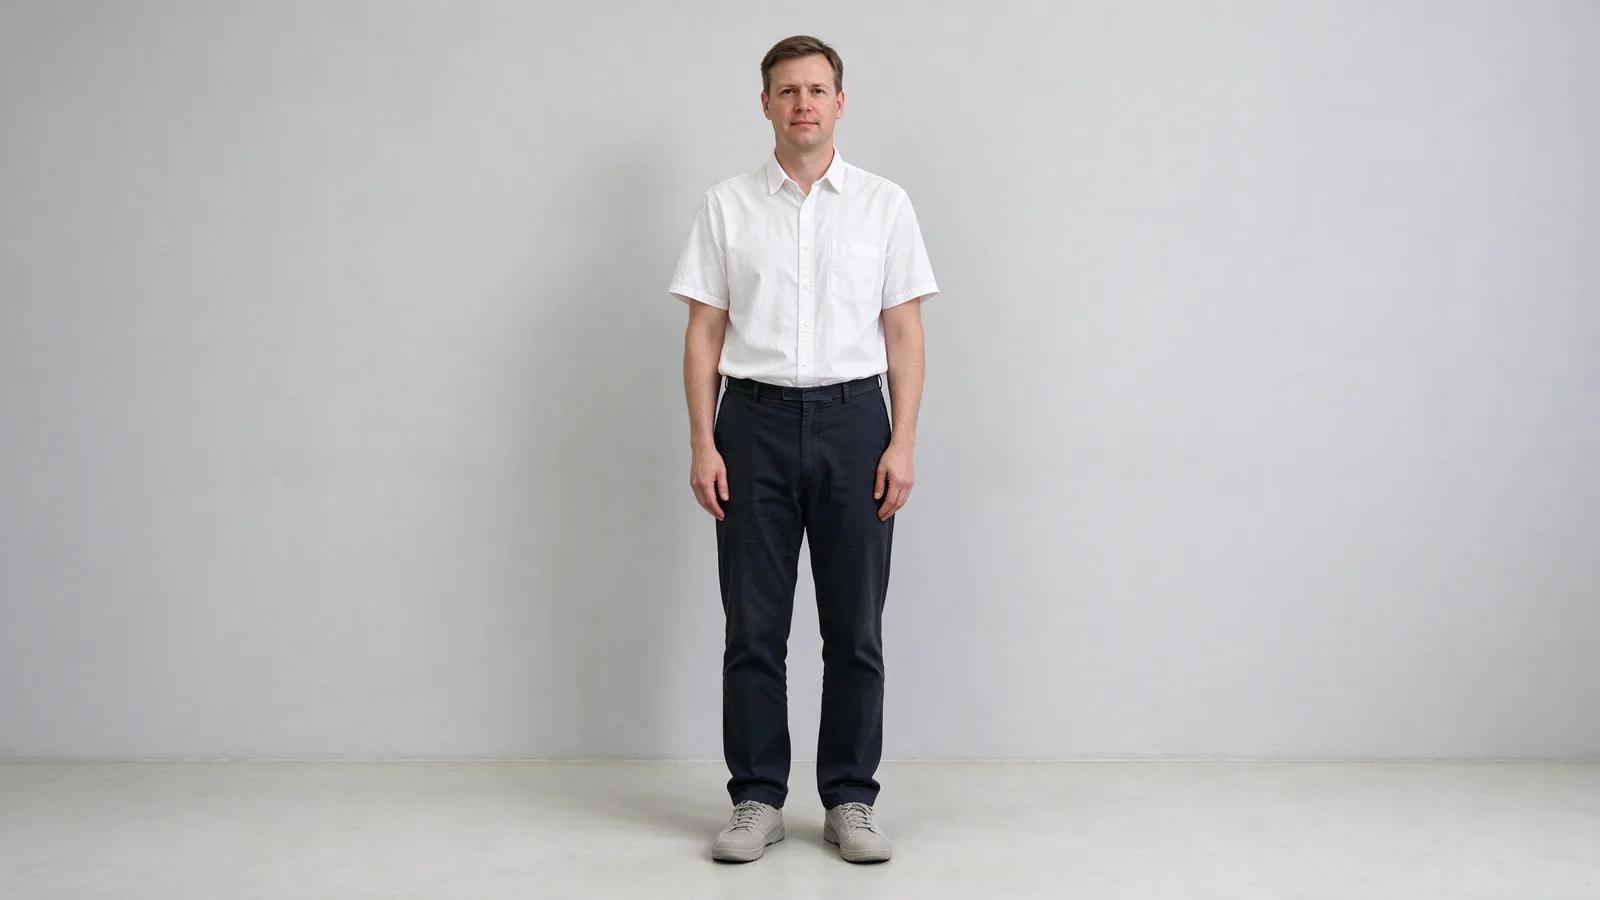
| Full body or seven-eighths, feet or knees visible | Yes | — |
| Cropped at the waist | Partly | Swap tops only; a hem has nowhere to land below the crop |
| Even, directional light, soft shadows | Yes | — |
| Hard flash, strong shadow on a wall behind | Risky | The new garment will not cast a matching shadow |
| Three or more layers already on | No | Reduce layers; the model cannot separate three edges |
| Loose outerwear over the base layer | No | Remove it or swap the outer layer only |
| Hands in pockets | No | The waistline is occluded and the wrist disappears |
| Arms crossed | No | The cuff and forearm interface does not exist in the image |
| Seated | No | Hem direction and leg contact cannot be computed |
| Back turned | No | No collar, no face, no chest shadow |
| Hair falling over the shoulders | Risky | The new collar will be occluded by hair in the wrong places |
The pattern behind this table is one sentence: the model can only replace what it can see. Every "no" above is a place where the interface between garment and body is hidden, and a hidden interface cannot be reconciled — it can only be invented.
Separate pieces, one look, or several references
The three input modes answer three different questions.
Separate pieces — a photo of the person plus an optional top reference and an optional bottom reference. This is the mode for changing exactly one half. It is also the most reliable mode overall, because the model only has to reconcile one garment against a body it already understands. Replacing only the trousers while the jacket stays as photographed is the case this mode was built for.
One full look — the person plus a single complete-outfit reference. Use it when the whole styling should come from one source and coherence matters more than preserving any individual piece. It will replace everything, including pieces you might have wanted to keep.
Multiple references — one main image plus up to four supplementary ones. Use it when the look depends on objects that are not garments: a specific shoe, a bag, eyewear, jewellery. One object per reference, cleanly isolated, or the model has to guess which part of the reference was intended.
Regardless of mode, the prompt is required. References without a description leave everything they do not cover to the model's defaults — and they never cover the interaction clauses, which is exactly where the four seams live.
Both modes are on the AI Outfit Generator page, where the reference slots map one to one onto the three cases above.
Resolution decides which fabrics survive
At 1K, most fabrics converge. At 2K, four families stay distinct, and the difference matters for whether the swap looks photographed:
| Fabric | At 2K | At 1K |
|---|---|---|
| Denim | Visible wash variation, twill direction, seam topstitching | Reads as flat blue |
| Knit | Stitch columns, weight pooling at the hem | Texture turns to noise |
| Silk or satin | Sharp specular along folds, deep reverse shadow | Highlight becomes a white band |
| Leather | Small hard highlight, visible edge thickness and stitching | Becomes a dark glossy shape |
The practical rule: if the point of the outfit is its cut, 1K is enough; if the point is its fabric, only 2K will do. A structured coat in 1K is fine. A satin slip dress in 1K will look like a grey shape, and no amount of prompt rewriting changes that.
Retry in this order
Changing several variables at once is how a swap session turns into an afternoon with nothing to show. Each step below has a strictly larger effect than the next.
1. The source photo. If the interface is hidden — hands in pockets, arms crossed, cropped at the waist — no prompt will recover it. Change the photo first.
2. The mode. If only one half needs to change, use separate pieces. Trying to change one half with a full-look reference and then correcting the result is more work and less reliable.
3. The interaction clause. Name how top and bottom meet. This fixes waistband problems that look like rendering bugs and are actually missing instructions.
4. The resolution. If the shape is right and the surface is not, and you generated at 1K, regenerate at 2K before touching the text.
5. The reference type. Swap a flat-lay reference for a worn reference, or the reverse, depending on whether the failing element is drape or detail.
What a finished swap looks like
Three checks, none of them about taste.
Every seam is continuous. Follow the collar around the neck, the cuff around the wrist, the hem across the body, the waistband around the hips. There should be no point where the fabric edge stops agreeing with the body beneath it.
The shadow belongs to the garment. The shadow under a hem, the shadow inside a collar, the shadow the sleeve casts on the forearm — all three should be consistent with one light direction, and all three should have the softness implied by that light.
The pose survives. Every crease in the new garment should trace back to a bend, a contact, or a pull in the body. Creases that do not correspond to anything the person is doing are the tell that fabric was drawn rather than worn.
A swap that passes all three does not need to look expensive. It needs to look like the person got dressed.
If there is no photo yet and the whole outfit has to be built from a description, start with outfit generator instead.