
How to Replace a Video Character with a Template
Choose a video-edit scene, replace each reference in its own slot and check the prompt connections. A practical walkthrough for desktop and phone browsers.
このページの内容
A video template gives you a starting scene, a movement and a set of image slots. Your job is to tell the editor which appearance belongs in each slot. That makes it a useful starting point when you want to try a new character in an existing dance, transformation or short scene.
This guide follows the video-edit templates on WowReel. You can open them on a computer or a phone browser. Start with the video-swap collection, then choose a scene whose movement and framing suit your idea.
1. Watch the sample before choosing a character
The sample helps you understand the scene: how many subjects appear, where they stand and whether the camera moves. Look at the whole clip before choosing a reference image. A close-up portrait and a full-body dance ask the model to reconstruct different amounts of detail.
Treat the sample as an illustration of the template. It is not a preview of the result with your own photos. Replacing a reference can affect faces, clothing, proportions and small movements, so plan to review the finished video.
For a first edit, pick a scene with a clearly visible subject. If your idea is mainly about an outfit, choose a reference that actually shows that outfit rather than expecting the editor to invent its hidden parts.
2. Match the references to the characters
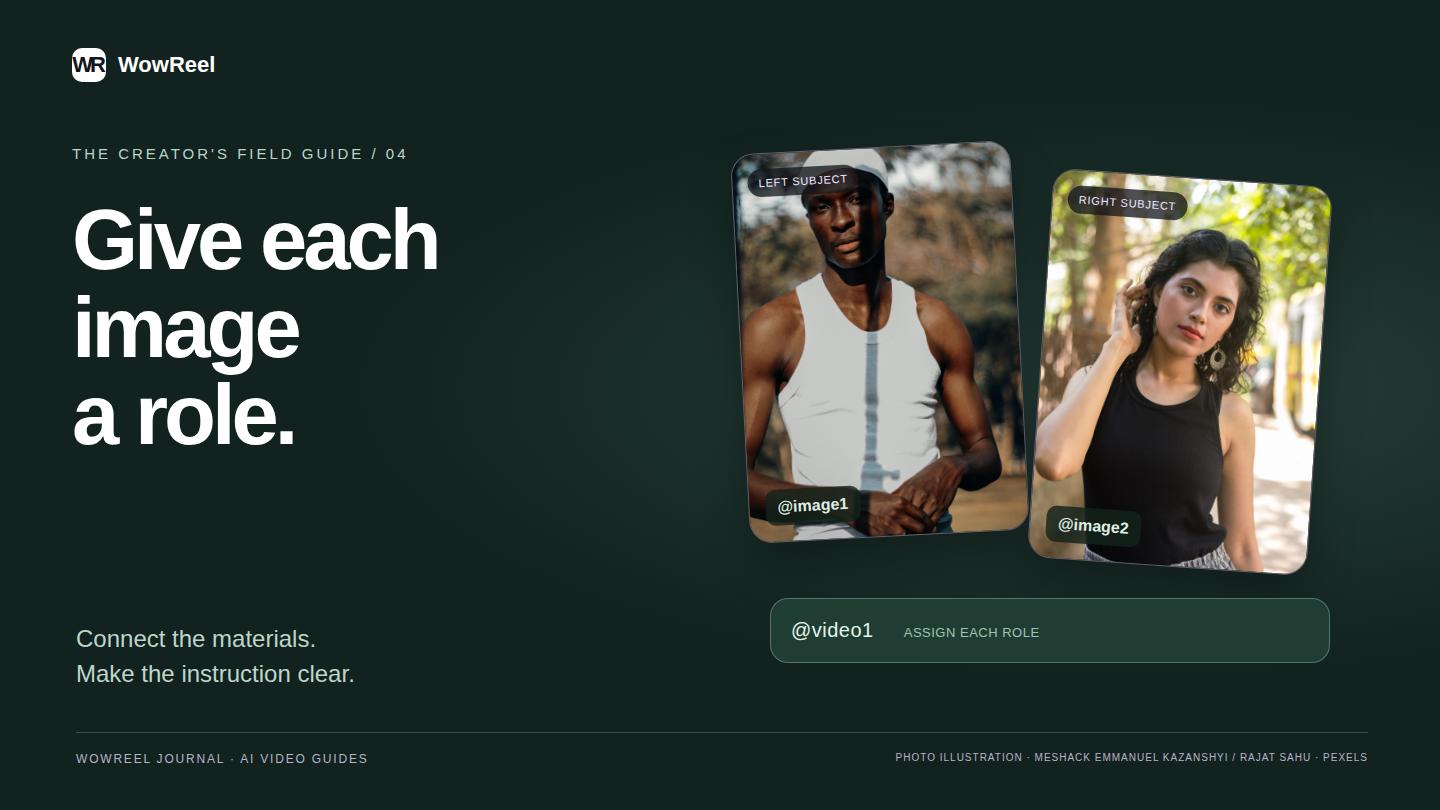
A single-character template can show one large reference frame. A scene with several characters uses a grid of separate frames. Each frame has its own Replace control. The reference chips in the prompt provide the material names and help explain which character or position an image is intended to describe.
For example, a group scene may distinguish a center dancer from dancers on the left and right. Check those names in the reference chips before replacing anything. Putting every reference into the first available slot does not communicate which subject should use which appearance.
Some templates provide default images. You can keep a default when it already fits your idea. If a material is marked as locked, use the editable slots offered by that template.
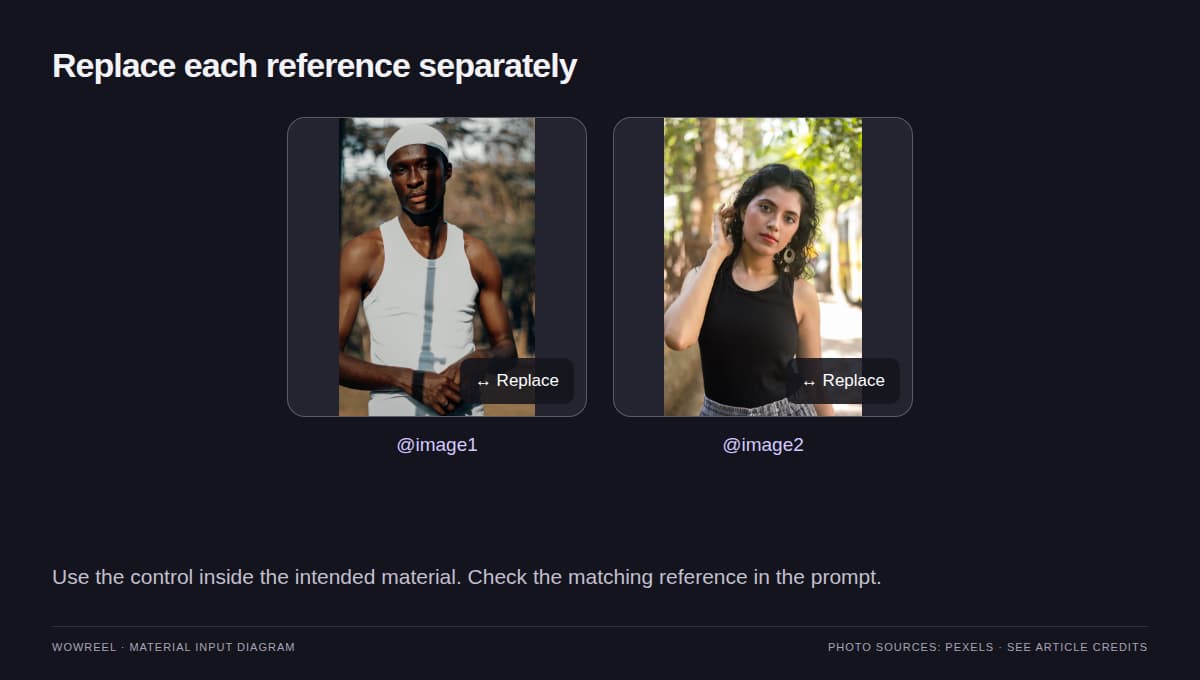
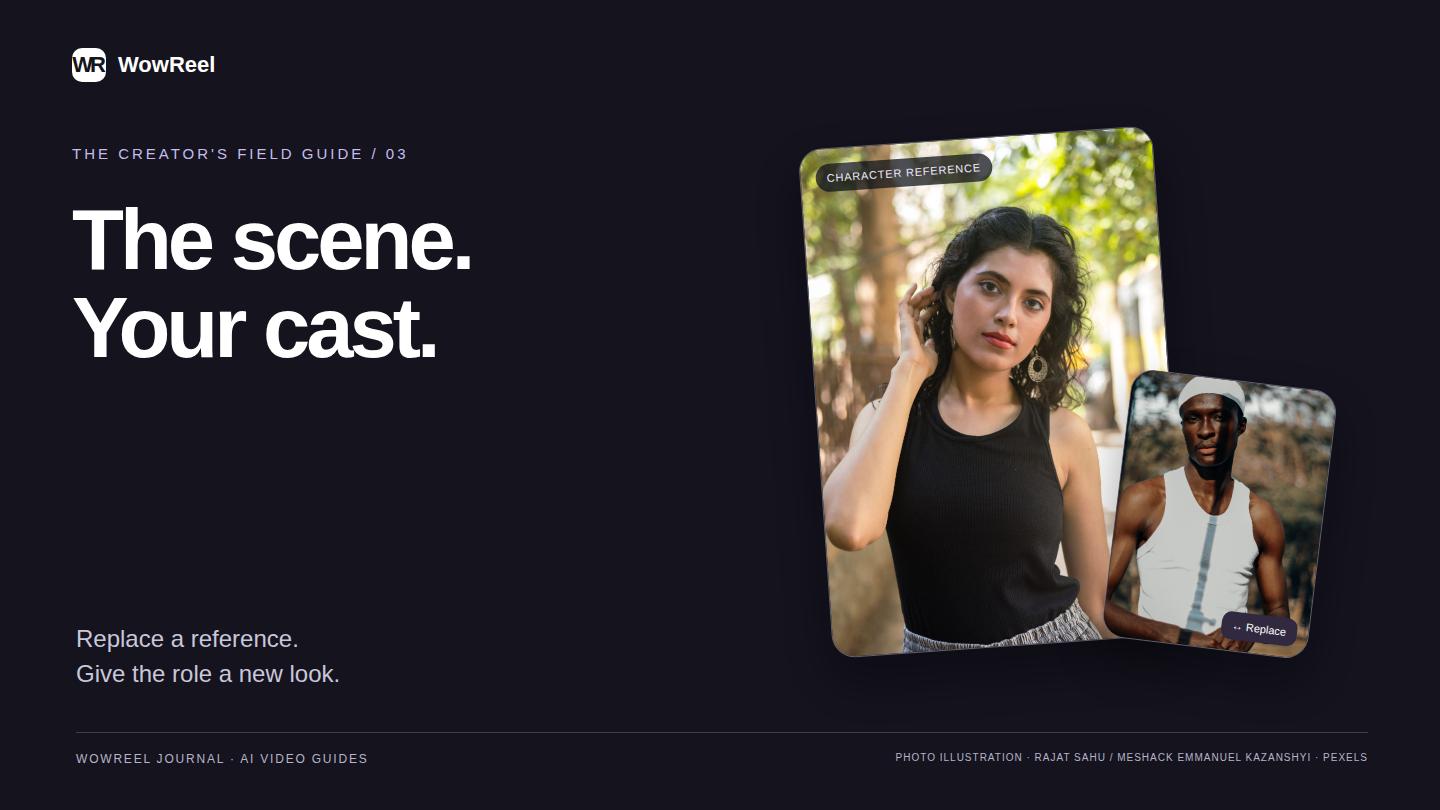
Illustration: replace the intended material, then check its connection in the prompt.
3. Replace one material at a time
Tap or click Replace inside the specific reference frame you want to change, then choose your image. Check that the new thumbnail appears in that frame before moving to the next one. The control belongs to that material; it is not a command to replace the whole collection.
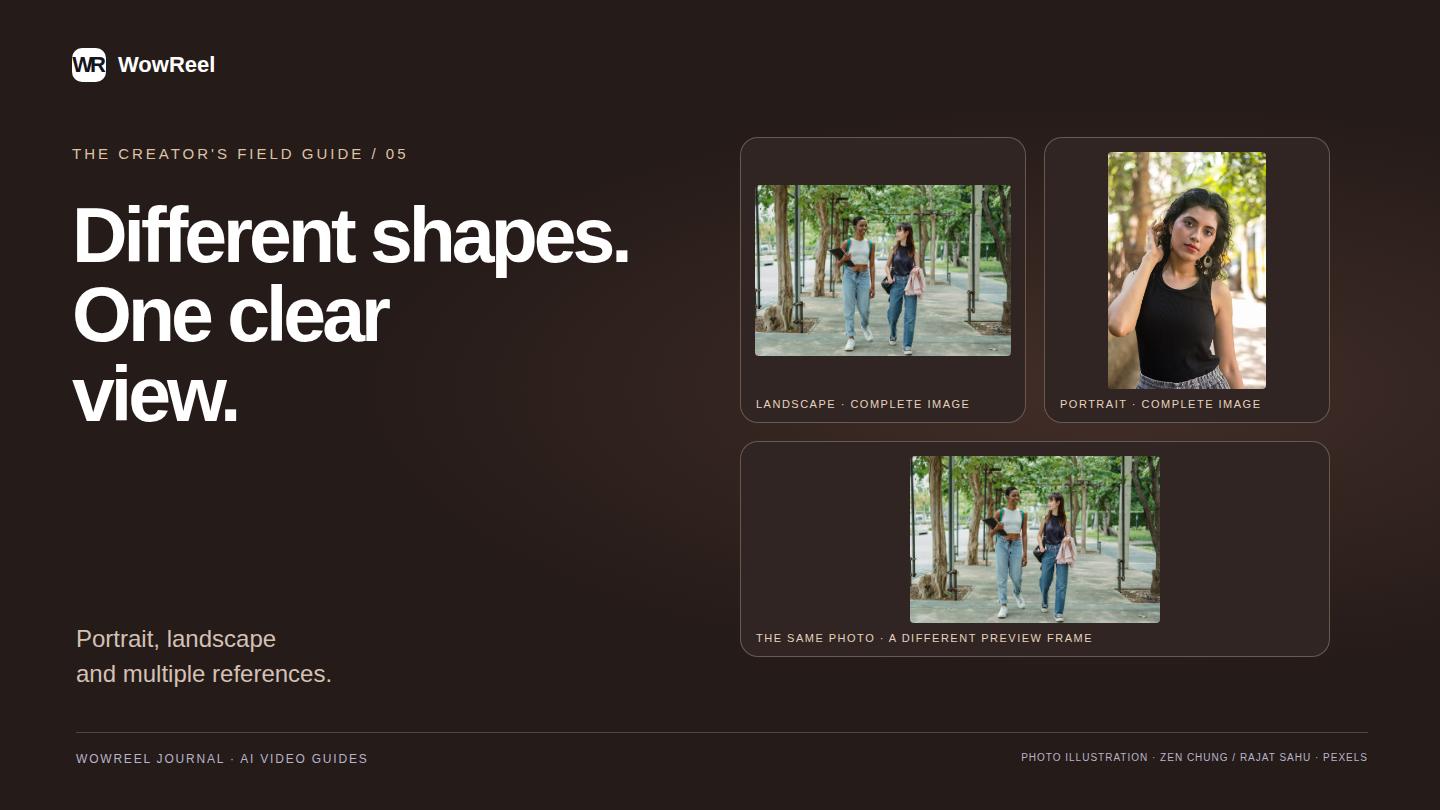
The preview keeps the complete image visible inside its frame. A landscape image may have empty space above and below it, while a tall image may leave space at the sides. That is normal preview fitting, not evidence that part of the uploaded image has been deleted.
If you change your mind, Restore default brings back the template's preset for that slot. On a multi-character scene, inspect every frame and its prompt reference again so that the intended positions remain clear.
4. Choose a reference with useful visual information
Use a sharp image with an unobstructed subject. A face hidden behind a hand, a tiny figure in a busy scene or several similar people in one picture can make the intended identity harder to interpret. The reference does not have to match the shape of the preview frame.
For a costume-led edit, show the clothing, hairstyle and silhouette you want the model to use. A full-body reference can explain a long coat or distinctive shoes more clearly than a tight face crop. For a face-led idea, make the face large enough to read.
Use materials you have permission to use. Start with one clear reference for each requested position, then add complexity only when it explains a real part of your idea.
5. Check the character references in the prompt
Video-edit templates expose an editable reference prompt. Its chips connect the writing to the supplied video and reference images. The video is represented by @video1; an image can be represented by @image1, @image2 and so on. The number and label help you check the connection; an available thumbnail provides another visual check.
Keep the template's working structure when you only want to change the appearance. A simple writing example is:
Replace the main character in @video1 with the character in @image1. Use the reference hairstyle and outfit. Keep the scene's overall framing and movement.
For two subjects, make the assignment explicit:
In @video1, use @image1 for the character on the left and @image2 for the character on the right. Keep their positions distinct throughout the shot.
These examples express an editing intention. They do not guarantee exact identity, motion or frame-by-frame preservation. See the reference guide for more ways to connect images and instructions.
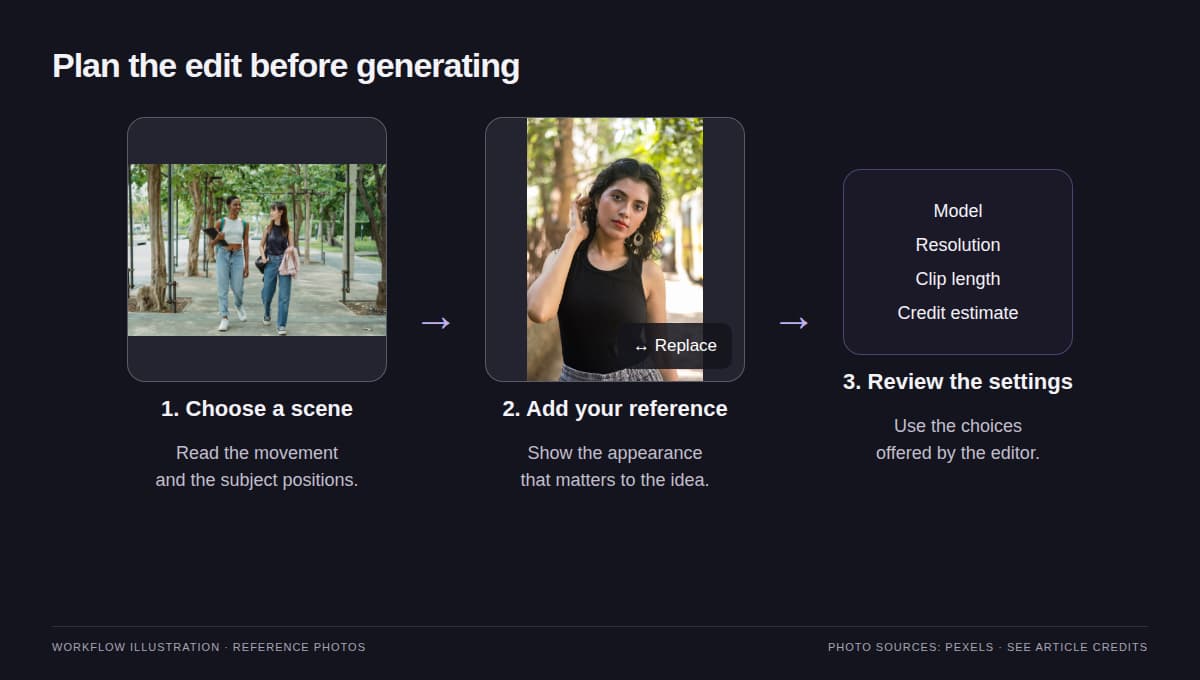
Workflow illustration using reference photos; the pictures explain preparation steps.
6. Review the settings and the displayed cost
Before generating, check the model, supported resolution, source-video length and displayed credit estimate. Template length comes from its reference video; the shape of a photo does not set that duration. Writing a different resolution or price in the prompt does not change the settings.
The currently offered video-edit setting is 720p. Check the page when you use it, because available models and settings can change. Review the quote shown for your account before confirming a generation.
7. Inspect the full result
Watch the beginning, middle and end. Look for the intended subject assignment, the appearance of hands and faces, outfit continuity and changes near fast movement. In group scenes, check moments when characters cross or partly cover one another.
| What you notice | What to inspect before another edit |
|---|---|
| The wrong character takes the new appearance | Check the character names and image references in the prompt. |
| Clothing is too vague | Choose a reference that shows the garment and silhouette. |
| An important detail changes during motion | Consider a clearer reference or a scene with less occlusion. |
| The preview has empty space around the photo | Check the complete image; preview fitting is separate from output composition. |
If you want to start with your own clip instead of a preset scene, open the video editor. For image-shape questions, continue with portrait, landscape and multiple references.
Frequently asked questions
Does Replace change every image at once?
No. Use the Replace control inside the material you want to change, then check that specific thumbnail before editing another slot.
Can I keep the template's default images?
Yes. Keep a preset that suits your idea, or restore a replaced preset with Restore default. Use the editable slots shown by the selected template.
Will the result preserve every motion exactly?
Exact preservation is not guaranteed. Review the full result for character assignment, motion, framing and visual continuity.