
Reference Images and @ Prompts: A Video Editing Guide
Connect video and image materials with reference chips. Learn how to insert @ references, assign roles and recheck the prompt after replacing or removing an image.
このページの内容
A reference image tells a video editor what something looks like. A prompt tells it how that image should relate to the scene. When a clip contains several subjects, the connection between those two pieces matters as much as the amount of description you write.
WowReel's video-edit prompt uses reference chips such as @video1 and @image1. Each chip points to a material in the current editor. This guide explains how to read those references, insert them and make a multi-image instruction easier to follow.
Start with the materials you actually need
You can work from a video-edit template, which provides a scene and its configured image slots, or use the video editor with your own clip. The current standalone tool allows up to four optional reference images. Templates show the slots configured for their particular scene, so a template can have a different count.
Begin by deciding what each image explains. One might define a character's appearance; another might define the second character. If two images communicate conflicting outfits or identities without explanation, adding both does not automatically make the instruction clearer.
Check the material names in the prompt references and any available thumbnails first. A reference token is useful only when it points to the intended material in the current editor.
Read the chips as connections
The reference video uses @video1. Image materials use numbered references such as @image1 and @image2. In the prompt editor, chips show the reference number and label. When a thumbnail is available, it provides another visual check; locked materials do not show a thumbnail.
These are references to editor materials, not web addresses and not new uploads. Typing the name of a missing image cannot supply that image. Add the material through the upload controls, then reference the material the editor offers.
Do not assume the visible order is the whole story. If you remove an image, another existing image can retain its original reference number. Check the chip's number, label and any available thumbnail instead of renumbering references based on position alone.
Insert a reference with the @ picker
Place the cursor where the material should appear in your sentence and type @. Choose the intended video or image from the reference picker. This inserts its reference at the cursor position and keeps the visual connection visible.
For example, start with an action, insert the video reference, then insert the image that explains the requested appearance:
In @video1, change the main character's appearance to match @image1. Use the reference hairstyle and jacket while keeping the overall scene composition.
Read it once as a sentence and once as a set of connections. Does the video chip refer to the right clip? Does the image chip refer to the right character? A short, correctly connected instruction is easier to reason about than a long sentence with ambiguous references.
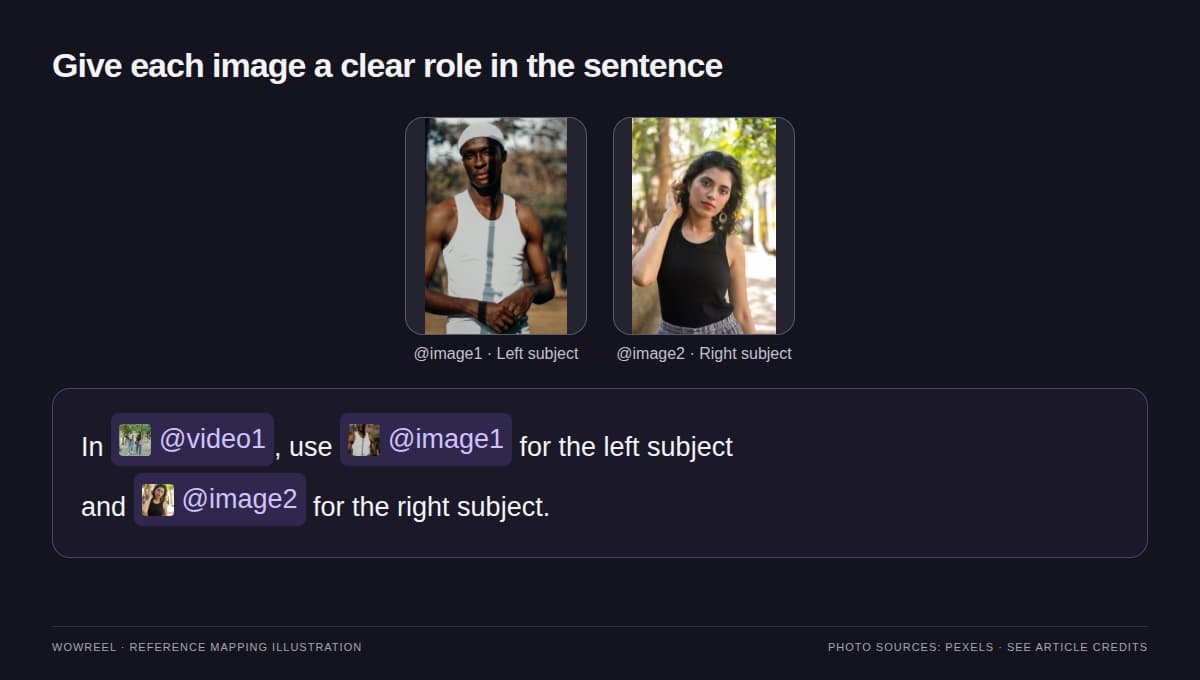
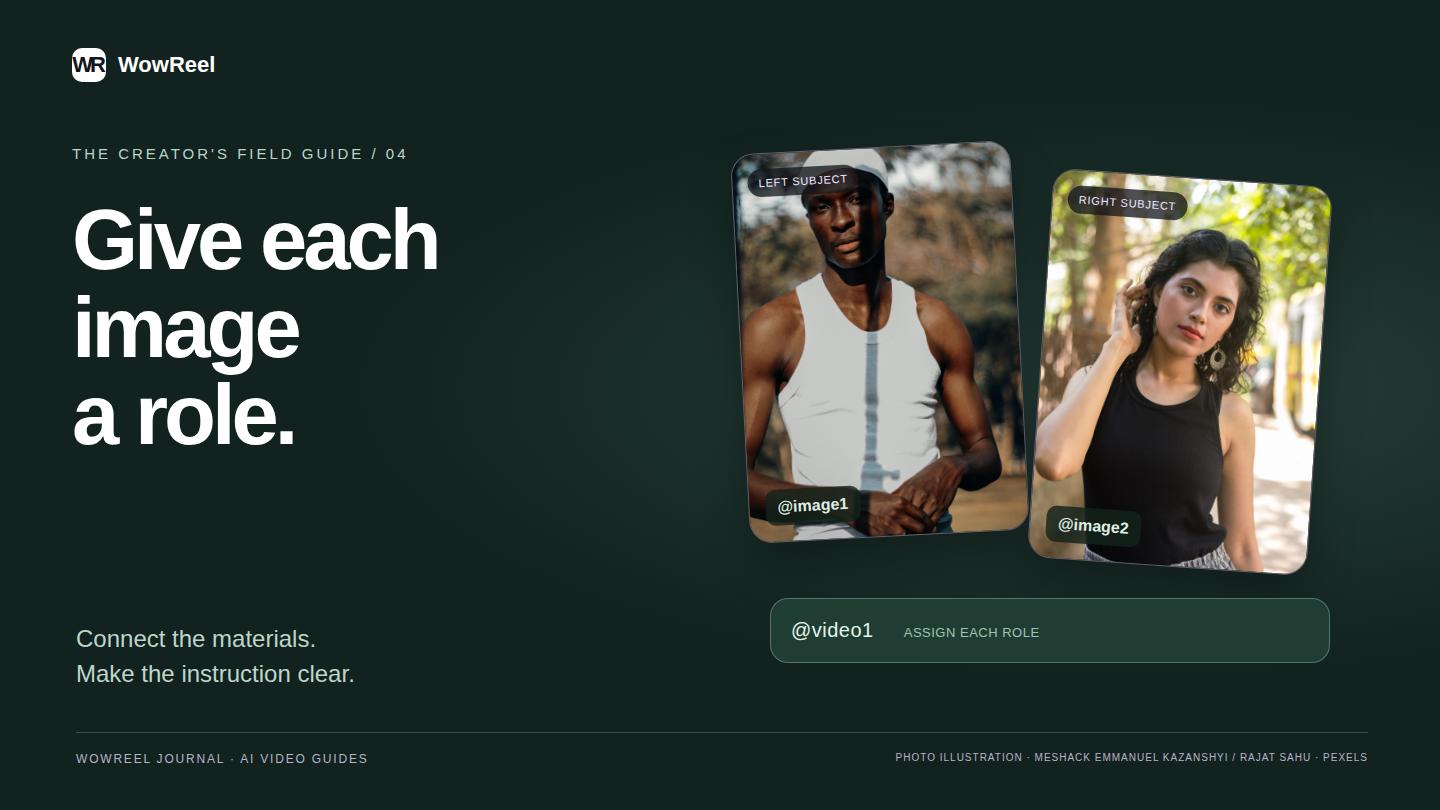
Reference mapping illustration: connect each material to a clear role in the sentence.
Give multiple images distinct roles
When two images represent two subjects, assign them explicitly. Positions can help when the scene makes those positions clear:
In @video1, use @image1 for the subject on the left and @image2 for the subject on the right. Keep their appearances distinct.
For a group scene, use the material names shown in the template's reference chips. If the template distinguishes a lead dancer from a far-right dancer, preserve that distinction in the instruction. Avoid calling every subject “the person” after introducing several references.
If an image is meant to guide a detail rather than define another subject, say so. For instance:
Use @image1 as the character reference for @video1. Use the jacket color in @image2 as an additional clothing reference.
This is a writing example, not a promise that the model will combine every detail exactly. Prefer clear, compatible images and avoid asking the same character to wear two contradictory outfits at once.
Separate what changes from what should remain
Useful instructions describe the requested change and then identify the scene qualities you want to retain. For example:
In @video1, use the character appearance from @image1. Keep the original setting and overall camera direction, with a natural transition through the movement.
Choose the details that matter to your idea. A long list of competing instructions can make the intended edit harder to understand. If you want a new costume, a new setting and a different camera move, explain each clearly and expect a larger creative change.
The model may still alter motion, proportions, texture or framing. Reference wording guides generation; it does not turn the process into exact pixel replacement.
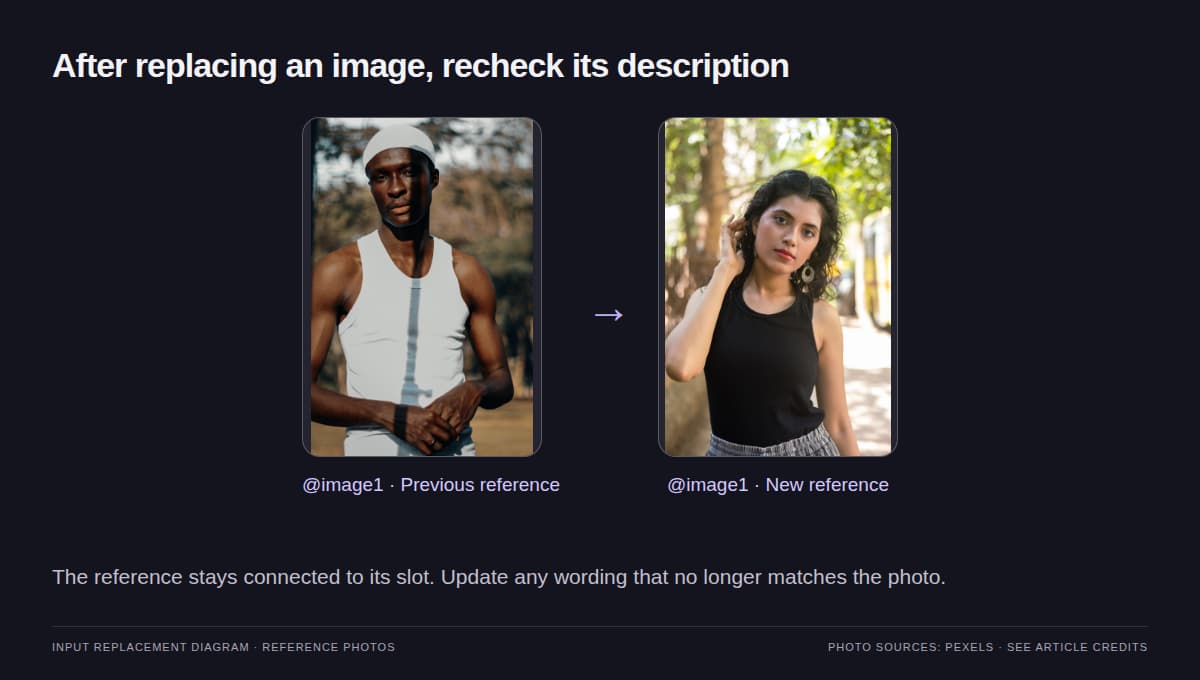
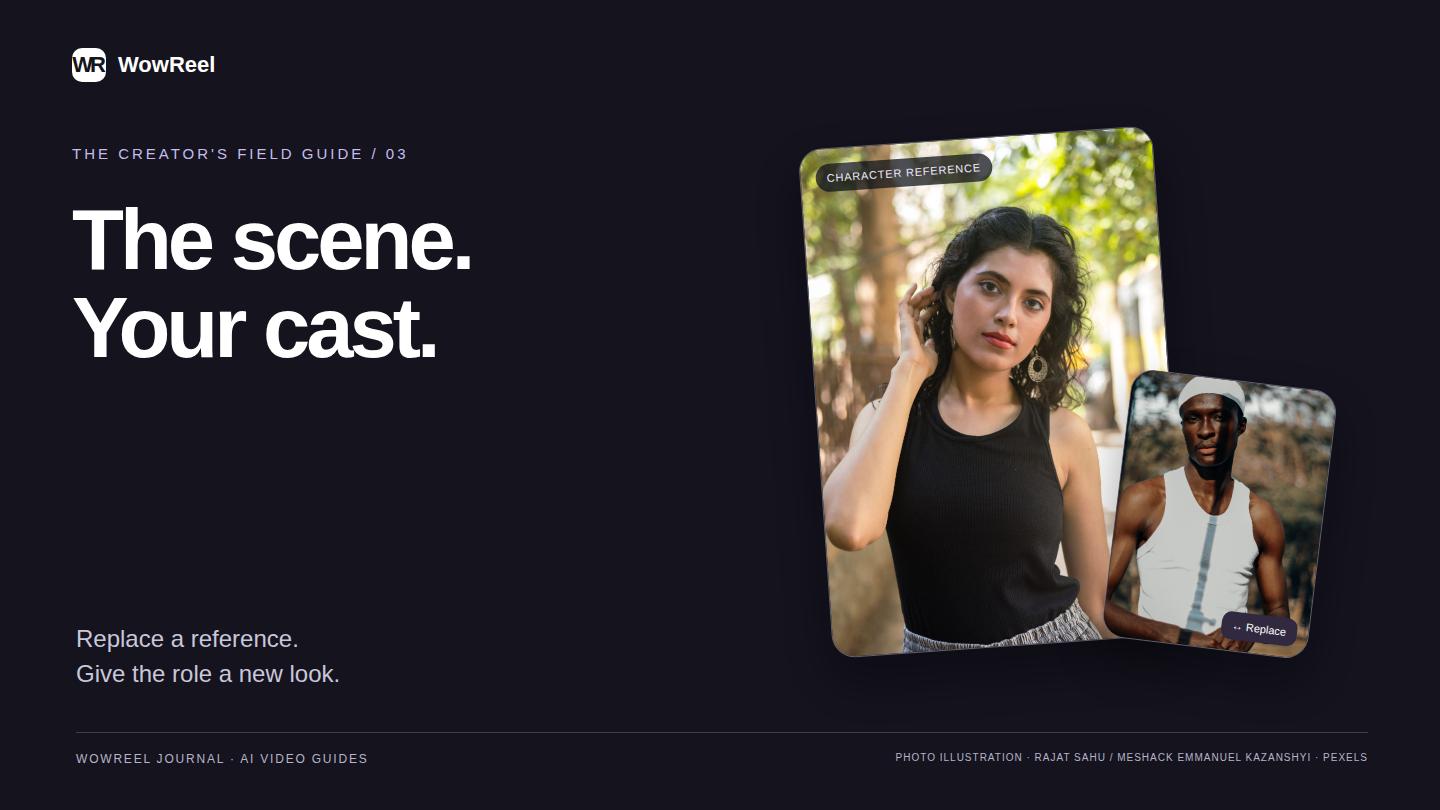
Input replacement illustration: inspect the new photo and revise wording that no longer matches it.
Recheck references after replacing or removing images
Replacing a material keeps that slot available, but the picture connected to it has changed. Read the prompt again: a sentence describing “the red coat” may now contradict a replacement image showing a blue jacket.
Removing a material is different. If the prompt still points to a reference that no longer exists, fix that connection before generating. Use the picker to choose an available material or remove the unused instruction.
| Editor change | What to check in the prompt |
|---|---|
| Replace an image | The existing reference now points to the intended new picture. |
| Remove an image | No instruction depends on the removed reference. |
| Add another subject | Each subject has a clear role and a corresponding image. |
| Restore a template default | The prompt still describes the restored material correctly. |
Keep parameters in the settings
References describe materials; they do not set resolution, pricing or supported output options. Choose available settings in the interface and review the displayed estimate. Writing “1080p” in a sentence does not unlock a resolution that is absent from the current tool.
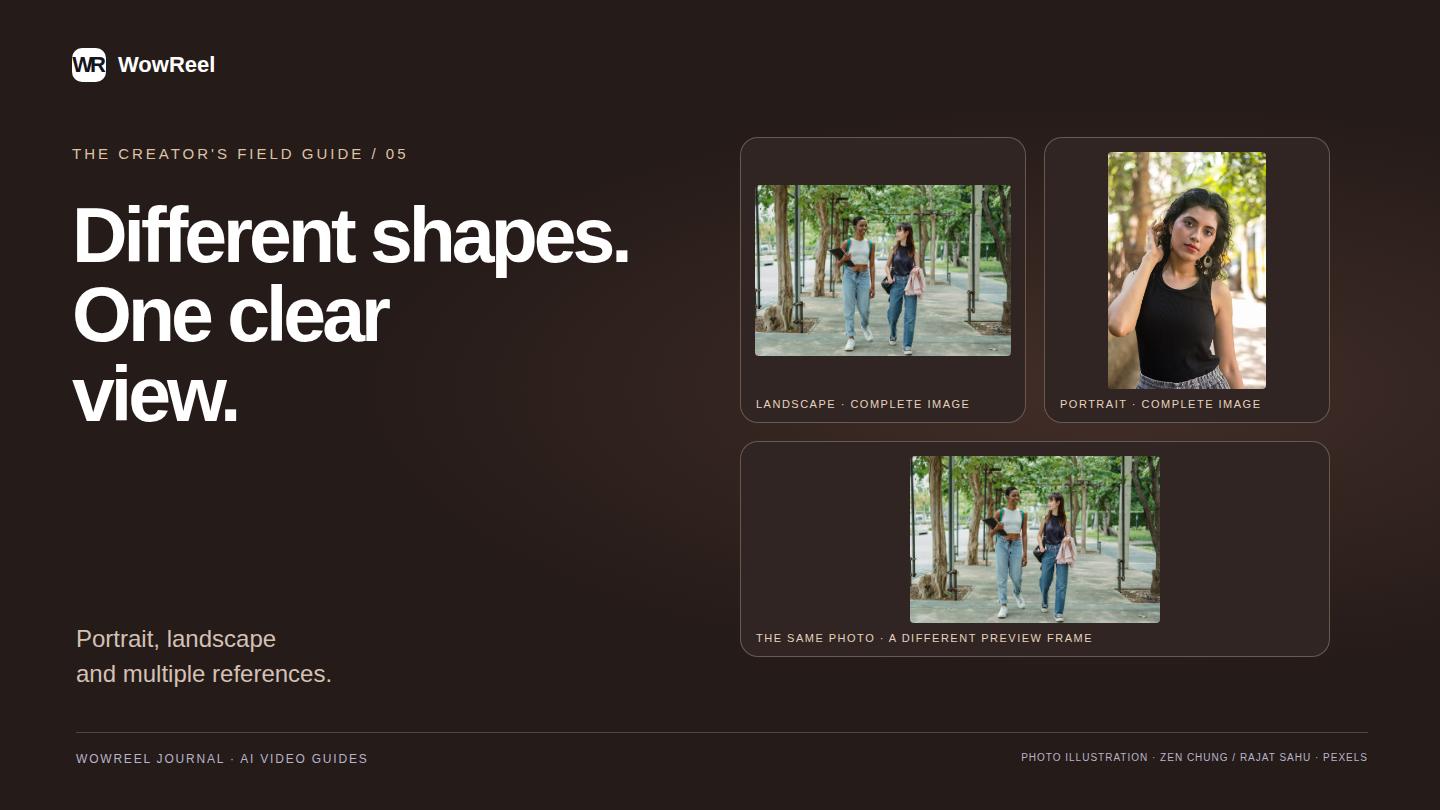
Before confirming, check the reference video, every image chip and the overall instruction together. For a walkthrough of the replacement controls, see replacing a video character with a template. For composition and preview fitting, read portrait, landscape and multiple images.
Frequently asked questions
Does typing @image1 upload a picture?
No. Upload or select a material first, then choose its available reference in the editor's @ picker.
Do references change when I replace an image?
Yes. The slot now contains a different picture. Check the thumbnail and revise any wording that no longer describes the new material.
Can a reference prompt enable another resolution?
No. Select supported resolution and output options in the interface. Prompt text does not unlock settings absent from the selected tool or model.