
How to Turn a Photo into a Video: A Beginner’s Guide
Learn how to choose a photo, describe a clear movement and review the result. Includes four original motion prompts and a practical troubleshooting checklist.
本頁內容
A still photo already contains the most useful part of a shot: a subject, a composition and a mood. Turning it into a video starts with choosing what should change. A small movement can give a scene a new rhythm without asking the model to invent an entirely different picture.
This guide walks through a simple photo-to-video workflow, then gives you four original motion prompts to adapt. They are starting points for your own images, rather than demonstrations of generated results. Use a photo you own or have permission to use, and get permission from anyone whose likeness you include.
Choose a photo with a clear focal point
Start with a picture that is easy to read at a glance. A single cup on a table, one pet near a window or a clearly separated person usually gives you a more manageable shot than a crowded scene with overlapping objects. Check the source at full size: a face that is already blurred or a hand hidden behind another object leaves the model less visual information to work with.
Leave a little room in the direction of the intended movement. If a subject is meant to look to the right, a composition with space on that side makes the idea easier to frame. You do not need a perfectly empty background, but several competing subjects can make the instruction less clear.
Choose the destination format early. A vertical composition can suit a phone screen, while a wider one can leave more room around a product or landscape. The upload preview shows the complete material in a consistent frame; the selected output ratio still determines the final video's shape. Look at both before submitting.
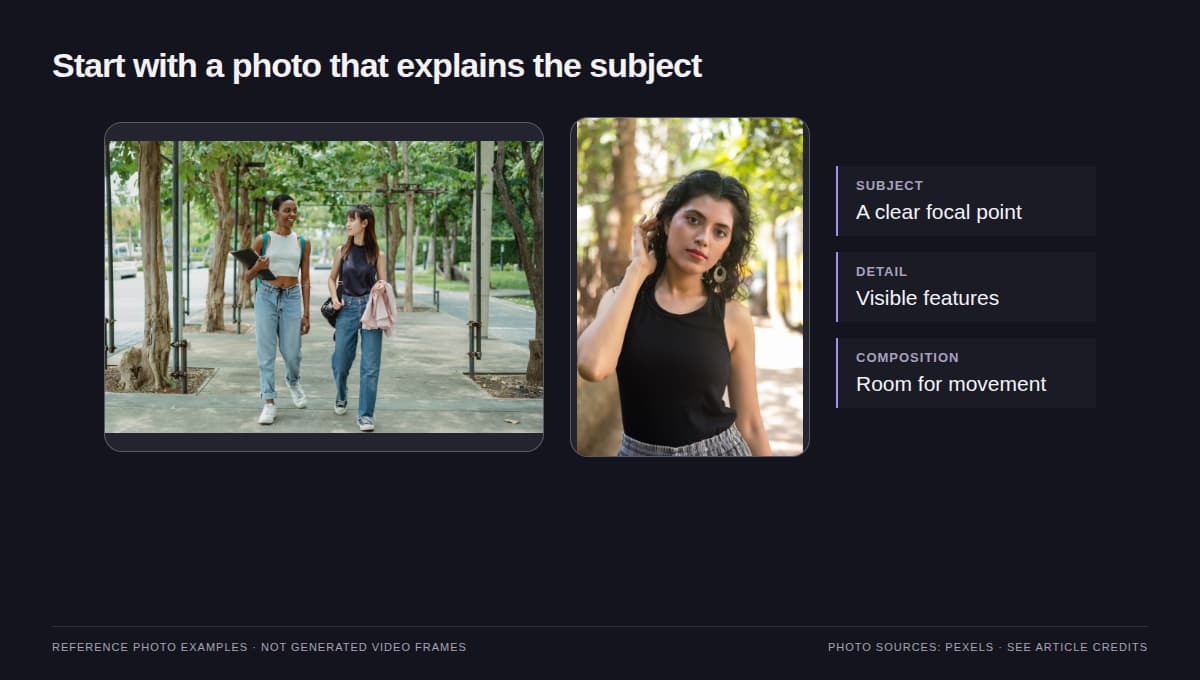
Reference-photo examples: inspect the subject and composition before planning movement.
Start with the image-to-video tool
Open Image to Video and use the image input shown for the selected model. Upload your photo, then check that you have selected the intended file. To change it, use the replacement control on that material's own preview.
Different models can ask for different kinds of input. A first-frame image sets the opening picture; a reference image guides the result without necessarily being an exact opening frame. Follow the labels in the form. If a model provides a last-frame input, use it only when you have an ending image that belongs to the same scene. A second unrelated photograph is not automatically a useful final frame.
Select the duration, output ratio and resolution from the choices available in the tool. Start with the shortest duration that gives your planned action enough time. Review the displayed quote before submitting; changing a model or setting can change the required credits. This tutorial does not require purchasing a particular plan.
Describe motion instead of rewriting the photograph
A useful motion prompt answers three questions: what moves, how it moves and what the camera does. Add one or two details that should stay consistent. You can refer to the subject as “the cup in the image” or “the same dog” instead of describing a new object that might compete with your photo.
For example, “a beautiful cinematic cup, detailed, amazing” describes an appearance but says little about time. “Steam rises slowly from the cup while the camera stays still” gives the shot a clear action. Add lighting only when it helps the scene; asking a daytime photo to become a night scene introduces another large change.
Avoid packing several actions into the first attempt. A camera orbit, a walking subject and a complete background change all ask the model to reveal details that the original photo may not show. First try one subject movement or one camera movement, then adjust after looking at the result.
Four motion prompts to adapt
Use the example that matches your source image. Replace the objects or movement when needed; a prompt about steam makes sense for a hot drink, but not every product photograph.
A quiet coffee moment
Best starting image: a cup on a stable tabletop, with some space above the rim.
A thin ribbon of steam rises gently from the cup in the image. The cup and tabletop remain in place. The camera is locked off, with the original soft lighting and background preserved. Keep the movement restrained and continuous.
Try changing the steam's pace before adding a camera move. If the source has printed lettering, inspect it throughout the result rather than assuming it will remain readable.
A pet noticing something nearby
Best starting image: one pet with a clearly visible face and a simple background.
The same dog slowly turns its gaze toward a sound just outside the frame, then pauses. Its body remains relaxed in the original position. Use a stationary camera and gentle natural movement, keeping the background arrangement consistent.
Keep the turn small. A large rotation asks the model to invent a side of the head that the photo does not show. If the face changes too much, reduce the movement instead of adding more descriptive adjectives.
A small product reveal
Best starting image: one object separated from its background, with visible edges.
The camera makes a very slow, short push toward the ceramic vase in the image. The vase stays stationary and keeps its original shape. Soft reflections shift subtly as the viewpoint changes. Preserve the tabletop layout and the existing color palette.
Use a short push rather than a full orbit for the first attempt. Review the object's outline and any logo or surface pattern at the beginning, middle and end of the clip.
Leaves moving outside a window
Best starting image: a window view with a few distinct leaves or branches.
A light breeze gently moves the leaves outside the window. The window frame and indoor objects stay still. Keep the camera fixed and retain the original time of day. Use small, irregular leaf movements rather than a large sweeping motion.
The contrast between moving leaves and a still window gives you a clear way to judge the shot. If everything appears to move, simplify the prompt and make the stationary elements more explicit.
Review the result before changing the prompt
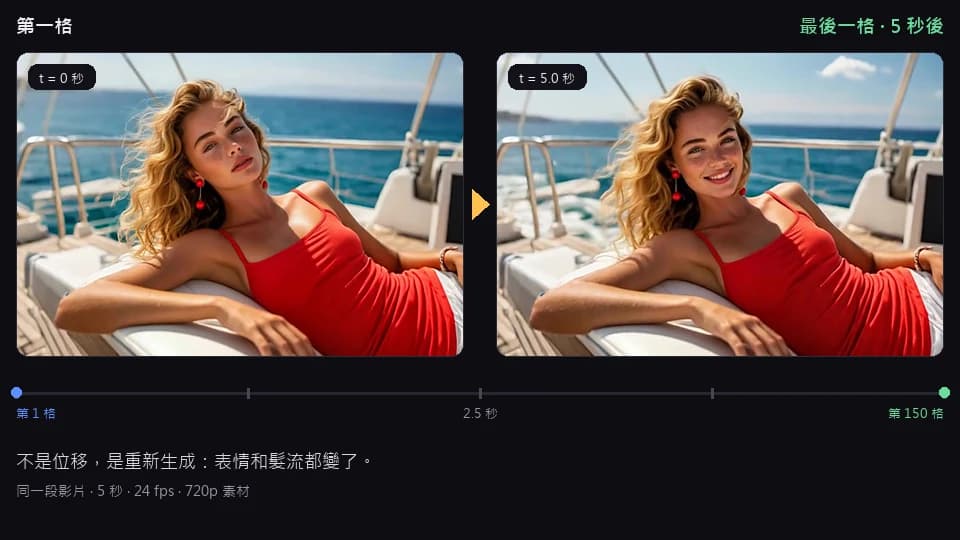
Watch the whole clip, then pause near the start, middle and finish. Look for changes in identity, object shape, background geometry and any text. Decide which single issue matters most before making a revision.
| What you notice | What to try next |
|---|---|
| The subject changes shape | Reduce the movement and remove competing actions. |
| The shot feels motionless | Name one visible action and give it a direction or pace. |
| The camera moves too much | Ask for a fixed camera and keep only subject movement. |
| Important parts leave the frame | Reconsider the source composition and output ratio. |
| Text or a logo becomes distorted | Use a simpler source or add exact lettering later in an editor. |
Compare one change at a time. Keeping the source image and most settings the same makes it easier to see whether your new instruction helped. Results vary by model and source image, so a prompt is a creative direction rather than a guarantee.
Give the shot one clear purpose
Before your next attempt, finish this sentence: “The viewer should notice…” If the answer is steam, a glance or a gentle reveal, keep the rest of the scene quiet enough to support it. A short, readable moment often works better than several unfinished ideas in the same clip.
Try your own photo in Image to Video. If you would rather build a new scene from words, read the AI video prompt guide and continue in Text to Video.
Frequently asked questions
Do I need to write a long prompt?
No. Start with one visible action, its pace and a clear camera instruction. Add details only when they help explain the movement you want.
Can I use portrait and landscape photos?
Use an image format accepted by the selected tool. Check both the complete upload preview and the selected output ratio; the final video does not have to share the source image’s shape.
Will faces, logos and text stay exactly the same?
There is no guarantee. Inspect the full result and keep important movements small. If exact lettering is essential, consider adding it in a separate editing step.